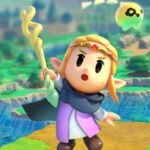
How to beat Gohma in Zelda Echoes of Wisdom
Understanding how to defeat Gohma in Zelda: Echoes of Wisdom is essential for completing Faron Temple, a crucial step in progressing through the A Rift in Faron Wetlands main story quest.
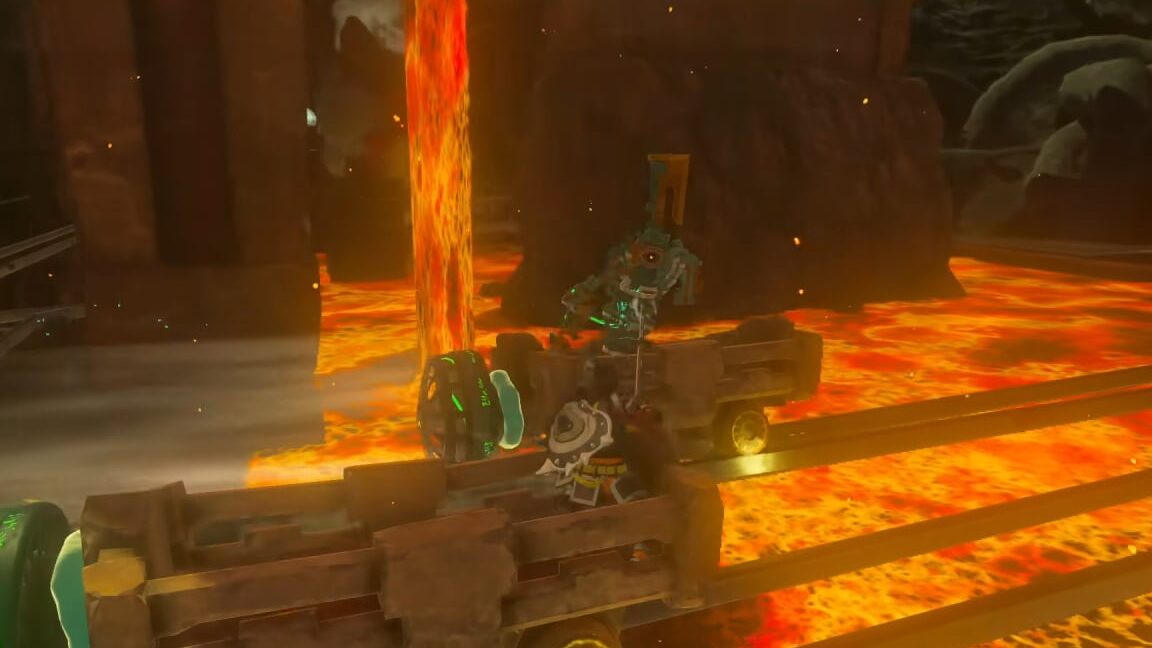
Gohma presents a challenging boss fight, particularly due to her size and the confined space of the arena. Before engaging in this battle, it’s advisable to prepare some smoothie recipes for potential heart boosts during the fight.
Here’s a detailed guide on how to beat Gohma in Zelda: Echoes of Wisdom.
How to Defeat Gohma in Zelda: Echoes of Wisdom
The battle against Gohma unfolds in four distinct phases. Once you learn to dodge her attacks, the fight can be resolved quickly.
Phase One
Initially, Gohma will cling to the back wall and launch webbing toward you. Pay attention to where the web comes from to anticipate its landing. If a web is heading toward you, evade it by moving to a different spot in the room.
Gohma will persistently target you during this attack, so keep moving to avoid being hit. In addition, Gohma will drop eggs that hatch into smaller spider enemies. Use Echoes or the Swordfighter Form to eliminate these threats, but be cautious about your energy consumption.
As you fight, you might notice three crystals on Gohma’s legs. Utilizing an Electric Wizzrobe Echo can help you light these crystals. When all three crystals are illuminated, Gohma will drop from the wall and become dazed, indicated by her eye spinning. This is your chance to enter Swordfighter Form, jump on her, and attack her eye.
However, be ready to back off as she will soon stir and perform a spinning attack, signaling the start of phase two.
Phase Two
In this phase, Gohma will be on the ground and will introduce new attacks. The crystals will also reappear, so while avoiding damage, focus on lighting them up.
One of her new attacks involves a claw swipe, where she will stretch her claws outward before attempting to grab you. Move quickly when you see her prepare for this attack.
Another dangerous move is a rapid dash forward followed by a series of claw slams. Keep an eye out for her glowing claws as a warning to evade her strikes.
After her chopping motion, Gohma will become stuck for a moment, providing an opportunity to light the crystals again. When the crystals are lit, she will be dazed once more, allowing you to attack her eye with Swordfighter Form.
Phase Three
At the beginning of this phase, Gohma will return to the wall and recycle her phase one attacks, but they will be faster and more aggressive. Your objective remains the same: light the crystals on her legs.
Gohma will also unleash a new laser attack from her eye. When you see the beam of light, stay mobile and avoid the incoming attack while dodging the webbing on the floor.
She will transition back to the ground, where she will repeat the phase two attacks, albeit with increased danger. After performing her chopping attack, she will once again become stuck, allowing you to light the crystals and attack her eye when dazed.
Phase Four
During this final phase, Gohma will recycle all her previous attacks but at an accelerated pace. Afterward, she will return to the ground and use her prior moves. The key moment to wait for is when she performs her chopping attack and becomes immobilized.
As she gets stuck, attack her eye again! This final assault should be enough to defeat Gohma.
Upon her defeat, you will be rewarded with a Heart Container—congratulations!
For more tips and guidance for your adventure, explore additional resources available on the game.
Related posts:
 How to beat Seismic Talus in Zelda Echoes of Wisdom
 How to beat Vocavor in Zelda Echoes of Wisdom
 How to beat Volvagia in Zelda Echoes of Wisdom
 How to beat Ganon in Zelda Echoes of Wisdom
 How to beat Lord Jabu-Jabu in Zelda Echoes of Wisdom
 How to beat Mogryph in Zelda Echoes of Wisdom
 How to beat Skorchill in Zelda Echoes of Wisdom
 How long does it take to beat Zelda: Echoes of Wisdom?
 Best Echoes to get early in Zelda Echoes of Wisdom
 All Echoes locations and abilities in Zelda Echoes of Wisdom listed
 ALL echoes (replicas) in Zelda: Echoes of Wisdom and how to get them
 ALL the heart pieces in Zelda: Echoes of Wisdom and how to get them


Post Comment