Zelda Echoes of Wisdom Eldin Temple walkthrough
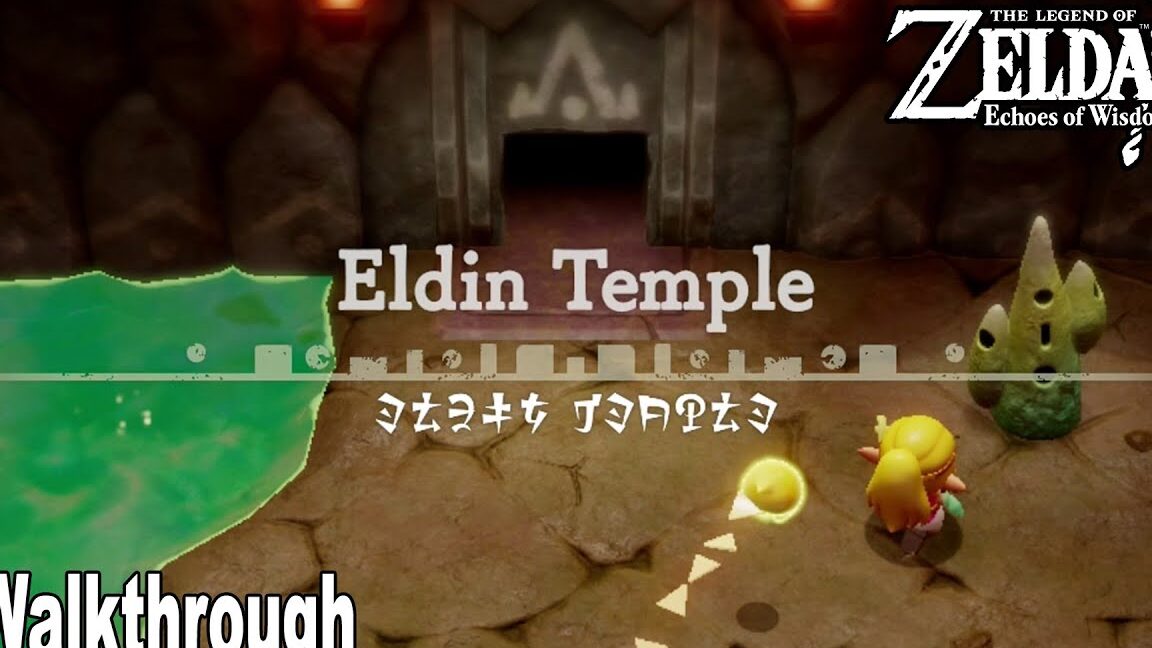
Eldin Temple in Zelda Echoes of Wisdom is located within the Stilled Eldin Volcano and is a crucial part of the Rift on Eldin Volcano main story quest.
This temple will challenge your timing as you navigate through areas filled with lava. It’s advisable to prepare some smoothie recipes to recover hearts, as you’ll definitely need them on this adventure.
When you’re set, here’s a detailed walkthrough for the Zelda Echoes of Wisdom Eldin Temple.
Zelda Echoes of Wisdom Eldin Temple walkthrough
As you enter Eldin Temple, activate the Waypoint located in the upper right corner of the room. If you need to recover hearts from your journey, take a dip in the pool of water situated in the upper left corner of the room.
Once you’re ready, proceed through the door in the middle of the rear wall. This will lead you into a room where parts of the floor are lava, so be cautious not to step on them—your quest to save Hyrule’s princess depends on it!
In this room, you’ll encounter several flying enemies. Utilize Echoes to defeat them, then head through the door located in the upper right corner.
In the next area, follow the path to the right and deal with the enemies you find there. Using Swordfighter Form is an efficient way to eliminate them quickly. Look for some cracked cubes scattered around the room.
Destroy the cube in the upper right corner to uncover a chest. Use ‘Bind’ to pull it from the sand and open it to receive eight Twisted Pumpkins.
Return to the room with the lava floors and go through the door on your right.
This room also features a lava-filled floor. To cross safely, use ‘Bind’ to maneuver a rock platform near the doorway, positioning it on the closest eruption spot.
Jump onto the platform when it’s at ground level and ride it across, hopping off to the L-shaped platform on the right.
Next, use ‘Bind’ to move the stone platform onto the next eruption spot to your right, which rises higher than the first. Wait for it to reach ground level before jumping onto it and riding it up.
When you can see the platform, jump off to the raised area to the north and proceed through the doorway.
In this chamber, head to the steam vents on your left. Use an Echo like Ghirro to glide up using these vents, making your way across to the platform on the far left. Continue to use this Echo to ride the vents to the chest located in the upper right corner, which contains a Small Key.
Now, return to the main room with the small lava sections and head to the left where a locked door awaits. Use the Small Key you just acquired to unlock it.
Finding the Eldin Temple Dungeon Map
Upon entering the next room, you’ll find that the floor is nearly entirely lava. Be cautious, as the lava will periodically drain, revealing the rest of the room before it fills back up again.
The safest spots to stand are the platforms visible when the lava drains. First, head to the lower left corner and find a chest half-buried in the ground. Use ‘Bind’ to free the chest when the lava lowers, collecting a Golden Egg.
When the lava drains again, head north to the upper left corner and stand on the highest stone platform, waiting for the lava to fill up.
As the lava rises, you’ll notice that the exit door in the upper right corner is gated. Defeat the Tweelus enemies that appear when the lava drains to open the gate.
Once defeated, use Echoes to create a bridge across to the exit, then head through the door into the next area.
In this room, go right and use Lava Rock Echoes to ride the eruptions to reach the next solid platform.
Continue heading right and down the climbable wall. Be cautious of the heat spewing through the cracks as you climb. Wait for the heat to disappear before scaling the wall and climbing off to the platform with a ladder on your left.
Head left until you reach another ladder that’s being covered by steam. Stack Boulder Echoes to block the heat and climb up when it’s safe. Open the chest on your right to obtain the Eldin Temple Map.
Acquiring the Bombs of Might
From here, climb down the ladder and head to the right, then down the climbable wall, being cautious of the heat. At the bottom, go left and down the short ladder.
Head right and use a Boulder Echo to block the heat from a crack so you can pass through safely. Continue to the right and down into another tricky area with rising and falling lava.
When the lava falls, drop to the next platform on the left, placing an Echo for a quick escape back to safety. On the far left, you’ll find a device similar to the ones you encountered in previous dungeons. Your task is to turn the device from blue to orange using a Flying Tile Echo.
Once the device is orange, quickly scale your Echo back to your safe spot. From here, head to the right to find climbable walls that are partially covered when the lava rises.
When the lava lowers, drop down to the lower platform on your right, using an Echo to cross the gap and swiftly climb up the next wall before the lava rises again.
At the top, hop onto the right platform and follow the path to reach another chest containing a Small Key.
Return to the earlier room with the heat and make your way back to the top level where you found the last chest. Go up the ladder on the right into the next area.
Here, activate the Waypoint, then use the Small Key you collected to open the locked door. You can also smash some jars here for Floral Nectar.
In this room, you’ll face an imposter Link who now has bombs. The room contains breakable cubes, and you’ll need to attack this enemy while avoiding the bombs. Enter Swordfighter form and keep attacking. After hitting him a few times, he will teleport but continue to pursue him.
Eventually, he will transform into a bird that spits explosives. Continue to avoid these while you attack Link to defeat him and collect the Bombs of Might, allowing you to throw bombs in Swordfighter form.
Obtaining the Eldin Temple Big Key
Head through the door in the upper right corner into a new area. To the left, you’ll find a goo wall. Use Echoes to cross the gap and attack the wall in Swordfighter form to remove it.
Continue left until you reach a ladder. Climb up, then ascend the small ladder on your left. Enter Swordfighter form and use the Bombs of Might to destroy the goo wall and the breakable cubes beneath it to reveal a chest containing another Small Key.
Now, head back to the previous room and make your way to the locked section by the ladder you ignored earlier. Use one Small Key to open it and descend the ladder.
In this area, navigate carefully to reach the chest. Start by heading right and down, then left, following the path until you come across a long climbable wall above lava.
Climb down and drop to the chest to collect the Big Key.
Be prepared to move quickly; as soon as you collect the Big Key, the lava levels will rise. Race back to where you came from, but be aware that the last ladder will break!
When this happens, use a Ghirro Echo to glide to the left side of the room, where you will find climbable walls. Scale these to reach the platform with the ladder and escape.
Once you’re back in the small room, avoid standing in the sunken part of the floor as the lava will fill this too. Head back through the doorway.
At the top of this ladder, go up the small one to your right. Use explosive Echoes or Bombs of Might to destroy the breakable cubes on your left and use the ladder to proceed. Alternatively, look up for a small gap in the rocks and use an Echo to rise through this crack to the top platform.
To your left, you will find another locked door. Interact with it using your final Small Key to open it, then head up the ladder.
This room requires you to navigate the lava safely. Start by smashing some jars in the bottom left for a Heart and Floral Nectar.
To cross the lava, use a gliding Echo like Ghirro to ride the steam vent at the top of the platform and glide to the next vent to the north.
Continue using the Echo to glide to the next vent on the right, then across to the solid platform on the right side of the room. Smash the jar here to collect a Fairy.
Next, look to your left for some eruptions. Use a Lava Rock Echo to ride the eruption up as high as possible, then hop off onto the platform on the left.
In the next section, use a gliding Echo to ride the steam vents across the room, timing your glides to avoid enemies. Glide through the dual-vents to the final platform on the north, ensuring you wait for the eruptions to lower or find a gap to glide through.
Once on solid ground, activate the Waypoint and interact with the Big Door using the Big Key to enter.
Prepare for a battle against the Eldin Temple Boss, Volvagia. If you need assistance, there is a separate guide available to help you defeat this formidable foe.
With Volvagia defeated, you will have successfully completed the Eldin Temple!
For more tips and guidance on your adventure, explore additional resources and walkthroughs available.
Related posts:
 Should you do the Eldin, Faron or Lanayru Temple first in Zelda Echoes of Wisdom?
 Zelda Echoes of Wisdom Lanayru Temple walkthrough
 Zelda Echoes of Wisdom Faron Temple walkthrough
 Zelda Echoes of Wisdom Elusive Tumbleweeds walkthrough
 Zelda Echoes of Wisdom Deliver the Grilled Fish walkthrough
 Zelda Echoes of Wisdom Runaway Horse walkthrough
 Zelda Echoes of Wisdom Suthorn Ruins Dungeon walkthrough
 Zelda Echoes of Wisdom Gerudo Sanctum Dungeon walkthrough
 Zelda Echoes of Wisdom Let’s Play a Game walkthrough
 Zelda Echoes of Wisdom walkthrough and tips
 Zelda Echoes of Wisdom Automaton Engineer Dampé walkthrough
 Hyrule Castle Dungeon walkthrough in Zelda Echoes of Wisdom


Post Comment