The Mysterious Rifts walkthrough for Zelda Echoes of Wisdom
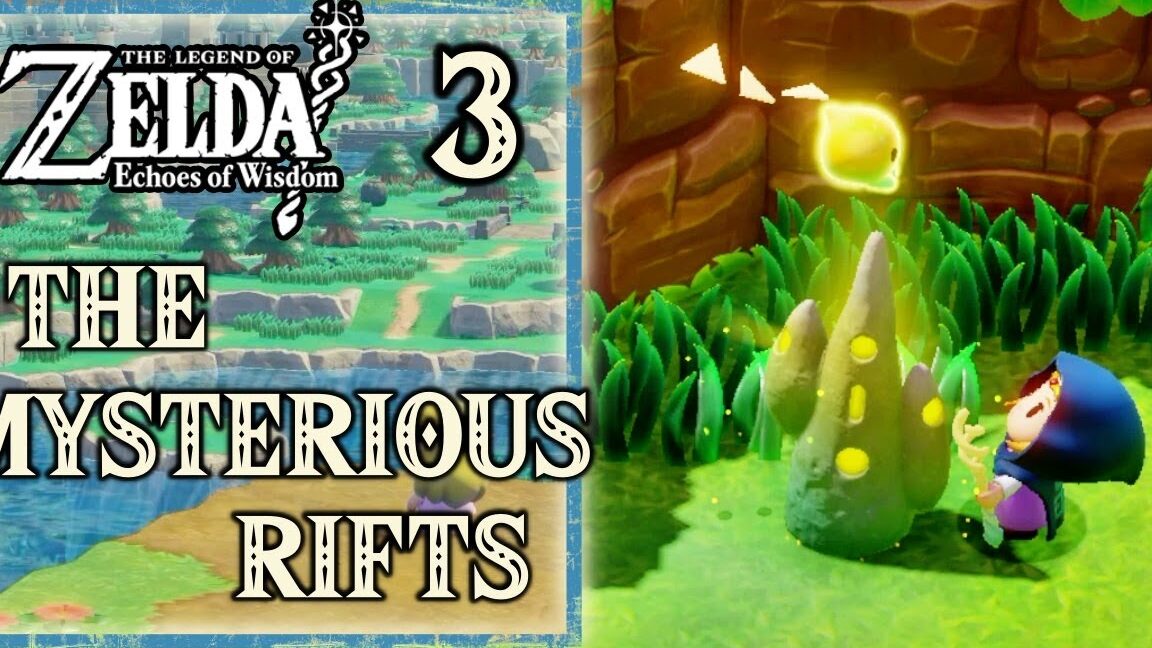
The Mysterious Rifts is the first main quest you’ll embark on when playing Zelda: Echoes of Wisdom. You will receive this quest during your escape from Hyrule Castle after completing the prologue of the game. In this quest, Zelda travels to the Suthorn Forest to investigate the mysterious rifts, including a journey to the Stilled Suthorn Forest, where reality has become distorted.
Below, you’ll find a detailed walkthrough for The Mysterious Rifts to assist you in completing this introductory quest. Be cautious as there may be spoilers ahead!
The Mysterious Rifts Walkthrough for Zelda: Echoes of Wisdom
At the start of The Mysterious Rifts, you find yourself trapped within Hyrule Castle, just a door away from where Impa left you. Your first task is to escape. Before proceeding, it’s wise to record the Decorative Shrub Echo before venturing further from the trees in the bottom corner.
Once you’ve done that, climb the nearby ladder and use the shelves to stay out of sight. You can also traverse the tops of the shrubs and create more Echoes when you reach the gap, descending the ladder when necessary.
At the bottom of this ladder, you’ll discover the Old Bed Echo. Recording this Echo is important because sleeping on a bed will restore Zelda’s health. You can create Echoes whenever you want, allowing you to heal Zelda easily if her health is low.
Return up the ladder and utilize your new Bed Echo to create a bridge to the next shelf. Repeat this process, stacking each bed slightly on top of the other, to reach the entrance at the far end of the room.
Although you are outside now, you are still not free from the castle. Drop down to the grass and use the Tri Rod to clear a path through the plants towards the well.
Diving into the well will drop you into a body of water, but don’t worry, Zelda can swim. Swim underwater to collect some Rupees and then climb onto the land. Continue forward, using a Table Echo to ascend to the higher part of the ground before descending the ladder.
Here, make sure to learn the Boulder Echo before pushing it into the water. You can jump into the water and swim across, collecting more Rupees along the way. You’ll need to create a Wooden Box Echo to climb out of the water, but there’s no need to stand on the nearby box to do so. Zelda can create Echoes while swimming, so place one next to the ledge before climbing out.
Now it’s time to create a Boulder Echo atop one of the crates. This will cause it to sink, allowing you to swim to freedom.
At this point, swim to the sewers and follow the fast-approaching rift. Swim away until Zelda washes up on a beach.
Suthorn Beach
Congratulations! Zelda is finally free from Hyrule Castle, and you can now start exploring Hyrule. From here, focus on the main objectives in The Mysterious Rifts quest to avoid spoiling any secrets you may uncover in Hyrule. Make sure to collect every Echo—item or monster—you encounter, as they will come in handy later.
First, leave the cave and you’ll find Zelda on a beach along the southern coast of Hyrule, called Suthorn Beach. Head east, following Tri’s instructions on collecting Echo Monsters when the time comes, and use a stone to defeat one of the Sea Urchins blocking your path.
Next, swim out to the lowest rock formation in the water. (You may want to grab the nearby Heart Piece first.) From there, use your Bed Echo to create bridges, stacking the beds on top of each other until you reach the highest platform. There, you’ll find a doorway blocked by three Sea Urchins; deal with them as you did before and enter the doorway.
Inside, head down the ladders and continue forward, defeating the Keese you encounter. Soon, you’ll reach an area with a climbable wall and a set of crates blocking a downward tunnel. Drop a Boulder Echo from above to clear the path, making your way to a Heart Piece. After collecting it, proceed through the cave, defeating more monsters until you reach the exit.
Suthorn Village
Upon exiting the cave, follow the path until you arrive at Suthorn Village. Here, you can gather news from the villagers, purchase a Heart Piece from the shop, and acquire valuable Trampoline and Meat Echoes.
When you’re ready, leave the village and travel east until Tri introduces you to your first Waypoint. These unique rocks serve as fast travel points in Zelda: Echoes of Wisdom, and you should activate every single Waypoint you find to quickly transport Zelda across the map whenever needed.
After activating your first Waypoint, head north to discover that the path is blocked by a rift. Since this route is impassable, it’s time to venture east into the Suthorn Forest.
Suthorn Forest
Follow the winding path, stopping at the first cave to collect your first Fairy Bottle. Make sure to defeat any monsters along the way to gather their Echoes. Two recommended Echoes to acquire are the Ignizol (found in the cave with the Fairy Bottle, which creates fire) and the Spear Moblin Echoes. These will enhance Zelda’s combat abilities, providing her with the means to defend herself effectively.
Eventually, you’ll reach the house that Impa instructed you to visit, only to find that part of it is encased in a rift. You must cleanse this rift to receive the owner’s assistance, which requires heading up the hill just south of the house.
Follow the path, defeating any monsters you encounter until you reach the edge of the rift. Here, Tri will create a portal, allowing you to safely enter the rift to find Tri’s missing friends.
Stilled Suthorn Forest Explained
Entering the Suthorn rift transports you to the Stilled Suthorn Forest, where reality has fractured, and many beings appear to have turned to stone. Your task here is to locate Tri’s friends so they can restore the rift and return this portion of Hyrule back to normal.
Head right, using an Old Bed Echo to bridge gaps until you reach a platform where a strange purple glob flies about. Defeat this hostile creature before proceeding by jumping from tree to tree and entering the cave on the other side.
Inside the cave, utilize a Spear Moblin Echo to combat the Keese as you navigate the platforms to the other side. There, you’ll find a switch that will open the door on the opposite side once stepped on. After pressing the switch, head back and go through the newly opened door.
The next room contains five enemies you need to defeat to unlock the far door. Once you’ve dealt with them, proceed through the door to find yourself at a higher point in the Stilled World. Continue forward along the clear path the game provides, defeating more enemies. When prompted, take the platform on your left, as the right path leads to five Rupees, and the south-west platform leads to a chest containing 50 Rupees within a cave. This path brings you to the trapped version of Minister Lefte.
Continue across the platforms until you arrive at the Suthorn Ruins, which serves as Zelda: Echoes of Wisdom’s first dungeon. Completing this dungeon will involve facing its boss, Seismic Talus. Once defeated, you’ll find yourself back in the Suthorn Forest with the restored Minister Lefte.
Return to the house you initially sought to reach with Lefte, and you’ll meet Lueburry. This character is vital, as Lueburry allows you to upgrade various aspects of the Swordfighter Form in exchange for Might Crystals. Visit him regularly to spend those Might Crystals on enhancements.
With the conversation concluded, it is decided that Zelda should seek out the other missing individuals, namely Link, the King of Hyrule, and General Wright. Your next destination will be the Gerudo Desert and Jabul Waters, marking the end of The Mysterious Rifts main quest and the beginning of Searching for Everyone.
As you continue on Zelda’s adventure, remember to explore thoroughly and gather as many Echoes as you can. Good luck!


















Post Comment