Zelda Echoes of Wisdom Lanayru Temple walkthrough
Lanayru Temple in Zelda: Echoes of Wisdom is located within the Stilled Holy Mount Lanayru Rift. Completing this temple is essential for progressing through the Rift on Holy Mount Lanayru main story quest.
This icy temple is packed with challenging puzzles requiring clever thinking, akin to previous temples you’ve encountered in the game. Be cautious, as several obstacles can deplete your hearts quickly, making it wise to prepare some smoothie recipes beforehand—you never know when they might come in handy!
Without further delay, here’s a detailed walkthrough for the Zelda: Echoes of Wisdom Lanayru Temple.
Lanayru Temple Walkthrough
Upon arriving at Lanayru Temple, resist the urge to enter immediately. Instead, descend to the lowest level beneath the temple. Avoid engaging with enemies and head left, passing a pool of water. Tucked away in a wall behind some trees is a doorway—be cautious of the icy water as you navigate!
Once through the door, you will find yourself in a spacious room with a gap in the floor, which presents a challenge since you need to reach the other side. The solution? Utilize Echoes!
Employ Echoes to bridge the gap (Cloud Echoes work well for this) and jump onto the platform holding a chest, which contains 50 Rupees.
After collecting the Rupees, retrace your steps back to the temple’s main entrance. Now, enter the temple and go down the ramp to your right, proceeding through the door at the bottom. You are now officially inside the Lanayru Temple.
In the next room, activate the Waypoint and melt the ice blocks in the upper left corner to acquire a Twisted Pumpkin. When ready, follow the footprints on the floor through the next door, leading you to a room with a fan mounted on the wall. There are pipe-like tiles on the floor leading from the fan to another door on the right; follow these tiles into the adjacent room.
In this room, you will encounter a device that is currently powerless, linked to the tiles below. To activate the fan in the prior room, you’ll need to power this device. Across the water, you will spot another similar device that is already powered. Make your way over using Echoes to create a path—Cloud and Wooden Box Echoes are effective.
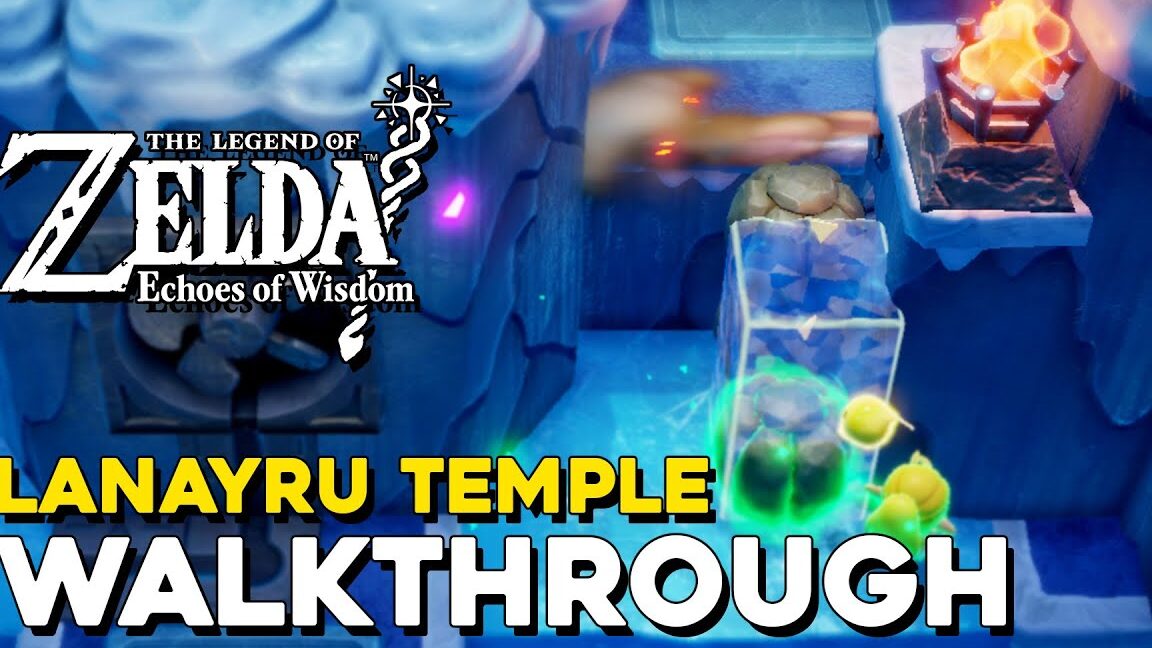
Once you reach the powered device, use ‘Bind’ to lift the flame-like item on top of it and carry it back to the powerless device by the door without falling into the water. Once there, place the flame-like item on the device, which will turn red to indicate it is now powered. This activation will start the fan in the previous room, momentarily warming up the area and revealing a ladder.
Return to the fan room and head across to the doorway on the left, ignoring the ladder for now; we will come back to it later. Upon entering the next room, you will find three ice blocks and two enemies. You will be locked in this room until you defeat the enemies, which will also reveal a chest containing five portions of Rock Salt.
Afterward, exit back into the fan room and descend the ladder you previously ignored.
This area will bring you face to face with a snowman enemy blocking your path. You can either melt the snowman or climb the wall above it to bypass the obstacle. Regardless of your choice, make your way toward the ladder beside the snowman.
After descending the ladder, you will enter a room where ice blasts from the wall block your path. Use ‘Bind’ to move the boulder in front of the ice blasts. When the coast is clear, proceed around the boulder and to the left, using ‘Bind’ again to block another ice blast with the same boulder.
Continue through the door on the left, where you will find another larger room featuring a fan. First, head to the left, using a boulder to block the ice blasts coming from the wall.
Once the path is clear, move through the door on the left side of this room, leading you into a split-room with bars. In the upper left corner, you will find another device requiring a flame-like item for power. As before, grab the flame-like item and transport it to the powerless device on the left.
When the device is powered, the fan in the previously visited room will activate, melting parts of the floor into water.
Dive into the water and swim to the right side of the room, where you will find a Small Key at the bottom. After collecting the key, head to the raised platform with the locked door. Use a Platbloom Echo to reach this door and unlock it with the Small Key.
In the next room, go down the climbable wall while avoiding the ice blasts. When you reach the point where the blasts prevent further descent, stop on the platform just left of the ice blasts.
To obstruct the blasts, stack Boulder Echoes on top of each other to cover the bottom vent. This will create enough space to descend the wall and allow you to quickly remove them to reach safety on the central platform.
Climb as high as you can, avoiding icicles, until you reach another set of ice blasts. Here, you will need to stack Water Block Echoes on the right to swim past the blasts safely and reach the small platform.
From this platform, descend to another climbable wall. Wait for the large icicle to form next to the ice blasts, and climb down when it does. The icicle will block the blasts as long as it’s attached to the ceiling, so you must wait for another to appear when it falls.
Continue down the wall while avoiding more ice blasts by sticking close to the left side, then make your way to the ladder on the right. Climb down this ladder into an area where an ice blast blocks your path to the next platform. Create steps using Bed Echoes to block one of the blasts.
Once on the next platform, turn around and look for a raised area. Use a Platbloom Echo to elevate yourself and look for a small opening in the ceiling. Move through this opening to find a chest containing a Golden Egg.
Return to the previous platform and use a Platbloom Echo to ascend, then glide across to the raised platform on the right and enter the door.
How to Get the Lanayru Temple Dungeon Map
Inside, you will find a large room with ice blocks. Use an Echo to melt these blocks to reveal a ladder in the upper right corner. Climb down the ladder and navigate the climbable wall while avoiding ice blasts.
As you reach the solid platform, grab another flame-like item nearby and carry it without passing it through the ice blasts. If you freeze the flame, drop it into a hole to respawn it.
After grabbing the flame, ascend the wall to the left and use Water Block Echoes to create a path to the next climbable wall. Climb back up to the ladder and look to the right for the device needing the flame.
When this device is powered, it will melt the ice wall that previously split the room with the ice cubes. Return to the room with the ice blocks and activate both pressure switches using Ice Block Echoes to reveal a chest containing another Small Key.
Now, head to the locked door on the left side and use the Small Key to enter the next area. This room will have more ice blasts, so be prepared to defeat the enemies here to unlock the door and collect the Lanayru Temple Dungeon Map.
How to Get the Lanayru Temple Big Key
With the map in hand, proceed through the door on the left, entering a small room with a Waypoint. Activate it and restore hearts in the pool if needed. When ready, move through the upper left corner door, where you will encounter a formidable enemy.
Pay attention to their jump attack and dodge the falling rocks from the ceiling. After landing a hit, the enemy will split into two, which can produce ice streams. Keep them away from the pool at the back.
Defeat all enemies to unlock the door and heal in the pool if necessary. Then, descend the ladder and melt the ice shard with a fire Echo. Light the torch that is revealed, then proceed down the right path to another torch and repeat the process.
Continue lighting the remaining torches to open the gate blocking your path. Once the gate is open, head back to the ladder and descend to find another frozen flame-like item that needs to be carried.
Place the flame on the device, melting the ice in the next room. You must then retrieve the second frozen flame and place it on the device to freeze the floor again.
Return to the Big Chest room, stand on the switch to lower the bars, and collect the Big Key from the chest.
Finally, activate the Waypoint in the Big Chest room and restore any hearts needed before facing the next challenge. When prepared, open the Big Door with the Big Key to confront the Lanayru Temple boss.
Good luck on your journey through Lanayru Temple, and may your adventure in Zelda: Echoes of Wisdom be filled with excitement and exploration!















Post Comment