Zelda Echoes of Wisdom Faron Temple walkthrough
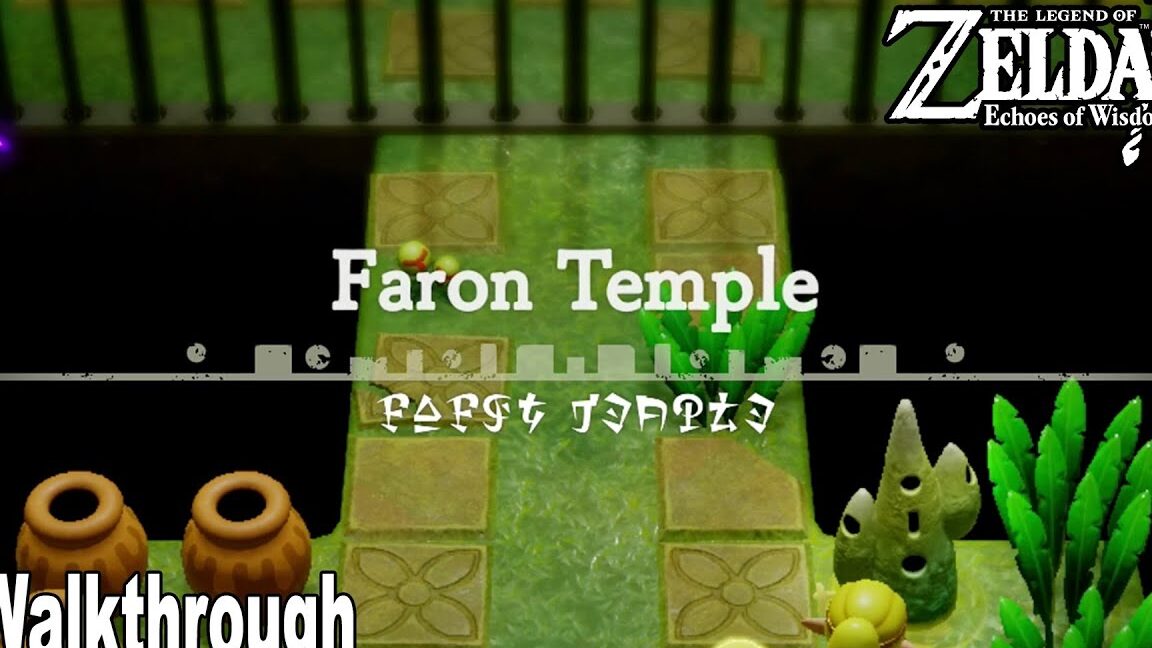
Faron Temple in Zelda: Echoes of Wisdom is located within the Stilled Faron Wetlands rift and is a crucial part of the main story quest titled “A Rift in Faron Wetlands.” This temple is filled with dark and unlit areas, necessitating the use of Echoes that can illuminate your surroundings, such as Ignizol. Additionally, be prepared for various enemies lurking within, so it’s advisable to craft some helpful smoothie recipes before you venture in.
Here’s a comprehensive Faron Temple walkthrough in Zelda: Echoes of Wisdom, including strategies for overcoming the mini-boss encountered within the temple.
How to get inside Faron Temple in Zelda: Echoes of Wisdom
To access Faron Temple, you’ll first need to solve a puzzle. Navigate to the upper right section of the rift where you will find a door engulfed in flames, accompanied by six flame-lit torches arranged outside. Your objective is to extinguish all the torches, but they will reignite after a few seconds.
One effective method involves using a Wind Cannon Echo. Hold it above your head and spin around amidst the torches to extinguish them simultaneously. Once all the torches are out, the flames covering the door will vanish, allowing you to enter.
Inside, head to the right and climb the wall, but be cautious of the floating enemies. You may want to deploy an Echo like Peahat to handle them. After reaching the top, jump onto the platform on the left and climb up the next wall on the far side.
Continue climbing until you reach the top of this wall, then hop to the small platform on the right. Jump over to the next climbable wall and ascend it, always keeping an eye out for enemies nearby.
At the top, jump onto the left platform and use the ladder to reach a room containing two Buzz Blobs. Defeat them with Echoes or by entering Swordfighter Form to collect their Echo, which will aid you in your next task.
Once the Buzz Blobs are dealt with, light up the crystal situated in the middle of the room using their Echo. Next, head to the upper left corner where you will find another crystal sitting on a platform; use Echoes to elevate yourself and light this crystal as well.
In the upper right corner lies a crystal obscured by a metal wall. To activate this, climb the ‘L’ shaped platforms in front of it and launch an Echo at it. Once all crystals are lit, the door to the next area will open, leading you outside of Faron Temple.
Zelda Echoes of Wisdom Faron Temple walkthrough
Once outside, follow the path around to the left. You will encounter a Mothula Lv.2; defeat it to collect its Echo, then continue along the path until you reach a ladder leading down into a hole on the side of the temple.
Climb down the ladder and jump onto the platform to the right. Descend the platforms until you face a Deku Baba on the opposite platform. Look up to see a gap in the platforms; create steps using Bed Echoes and use a Strandtula Echo to climb up through the gap.
Once you reach the top, defeat the large enemy guarding the chest using the Mothula Lv.2 Echo you obtained outside. After clearing the enemy, open the chest to collect 10 Warm Peppers.
Return to your original entrance point and jump across to the platform below where the Deku Baba was located. Use a Ghirro Echo to facilitate your crossing, then defeat the Strandtula residing here and use your own Strandtula Echo to climb to the platform on the right.
From here, utilize a Strandtula Echo to ascend through the gap in the platforms above. On the platform you reach, continue through the gap on your right.
Follow the path to the right until you arrive at a solid platform adjacent to the red platform you just crossed. Use an Echo to weigh down the platform to your left; three Boulder Echoes can do the trick, pushing it all the way down to ground level.
As this platform descends, the one on your right will rise to the ceiling, allowing you to create a path up with a Strandtula Echo to the platform and ladder above.
This ladder will lead you to a room divided by a large metal gate. Head north from where you entered to find a floor switch. Stand on this switch to lower the gate.
Once the gate is down, proceed south and activate the Waypoint before moving on. Return to the point where you descended the ladder and ascend the stairs to find a locked door ahead and another door to your right. Take the stairs up to the left and enter the open door.
This will bring you into a small room where webs cover the path ahead. Use an Ignizol Echo to clear the webs and eliminate any enemies in the northern part of the room. Move to the lower left corner and use the door here to exit outside onto the temple roof.
On the roof, traverse to the right until you find four statues lined up. The second statue from the left conceals a door; use Bind to pull it away and enter through the door.
Inside, you will find three crystals that need to be lit to reveal a hidden chest. The first two crystals are found on columns in the water directly in front of the door, which can be lit by sending Buzz Blob Echoes to them.
The third crystal is located in the upper right corner, behind a wooden box. Remove this box by pushing it into the void below, then stack Bed Echoes to create a path over the void and launch a Buzz Blob Echo at it to light it. If the other crystals have timed out, relight them as needed.
Once all three crystals are illuminated, the chest will be revealed, containing a Small Key.
Zelda Echoes of Wisdom Faron Temple Dungeon Map location
Next, head back outside onto the roof and follow the path to the right. To the left of your exit path, you will find dense grass concealing a ladder leading downwards. Climb down this ladder.
At the bottom, jump into the water on the left and follow the current, diving down to pass through any bubbles encountered. Follow the water to the right until you reach a chest containing 50 Rupees.
Swim back up to the surface and ascend the ladder to reach a room with thin platforms and moving platforms. Here, you will find more crystals that need to be lit. Move straight north on the platform until you reach the end, where multiple moving platforms are located to your right, alongside the crystals you need to light.
Hop onto the platform that moves directly to your current position and wait for it to carry you close to the first crystal. Once you’re ready, light it with a Buzz Blob Echo.
At the end of this platform, turn south to light the next crystal, and then turn north to use the same Echo to light another crystal nearby. Once all three crystals are lit, a door in the upper left corner will open, allowing you to proceed.
Ride the longest moving platform from south to north, and at the northern end, hop onto the platform to the right of the crystal and ride it up to the upper platform level. Upon entering this room, open the chest to collect the Faron Temple Dungeon Map!
Zelda Echoes of Wisdom Faron Temple Big Key location
Next, activate the button to the left of the chest, which will open a door on the left side of the room. Go through this door to return to the room where you started, which is now split by tall bars.
Descend to the lower level of this room and head through the door to the left of the ladder’s exit. This will take you to a small room primarily filled with grass. A Mothula Lv.2 may be hiding here, so consider using your Echoes or entering Swordfighter Form to defeat it before continuing.
In the upper left corner, you may notice what appears to be tall grass, but it’s hiding another doorway. Clear the grass to access the door.
Inside, you’ll find yourself in a dark room. Head left and navigate past the spike traps while being cautious. Holding onto a bright Echo like Ignizol will help you avoid surprises. Continue to the right until you find another door leading out of the area.
Once outside, you will be locked in the next room. To escape, weigh down the two grey pressure panel switches on the floor. Using two Armos Echoes is effective for this task.
Once both switches are activated, the doors will open, allowing you to head through the one in the lower right corner of the room. This will lead you to a seemingly empty room containing a Waypoint. Interact with it to activate it.
Dive into the water here and swim south, then dive again until you reach the floor in the lower right corner. You may encounter a Tangler here, so deal with it, and remember to swim through the bubbles for air. Swim left to find a boulder blocking your path; use Bind to move it out of the way.
Continue swimming and deal with any additional Tanglers in your path, using Bind again to clear another boulder blocking your way. After dealing with the enemies and obstacles, swim up until the current pulls you to the left. Restock on air if necessary, and swim upwards where you will find a chest on a platform to your right. Use an Echo to reach this platform and open the chest to collect another 50 Rupees.
Afterward, swim back down and look for an Armos statue. Use Bind to move it into the current to help you progress. Swim past the statue to reach the surface, then climb the ladder on the right to enter another dark room.
As before, light the torches around the room to find your way. The first crystal is located at the top of some stairs to the north of where you entered. The second crystal can be found in the lower right corner of the room, wedged between two boulders; use Bind to clear the way. The final crystal is to the left of the ladder that you entered through, against the wall.
Once all three crystals are lit, doors on both sides of the room will open. For now, head through the left door.
In the next room, use Echoes to clear out the enemies and head up the steps in the middle. You will find more pressure switches against the rear wall. Weigh down the red platform to the left with a Boulder Echo to level it with the switch. After that, place Armos Echoes on each platform to activate the pressure switches.
Once both switches are activated, doors on the left side of the room and the one in the center will open. First, head through the left door to find a chest containing another Small Key.
At the bottom of this room, there is a movable wall. Use Bind to pull it open and enter the dark room. Light the torches inside and head south, passing by the glowing mushroom to find another Waypoint. Activate it for a rest stop.
From here, head to the right through the locked door that you previously noted on your map. Use one of your Small Keys to open this door, leading to a room with another chest containing a Golden Egg.
Return to the previous room and head to the upper left corner, where you’ll find a door with a ladder. Climb the ladder to reach another area with bars. Stand at the edge and place Boulder Echoes on the red platform to the left to weigh it down.
Once that’s done, climb the wall to the left and jump onto the platform. Here, you’ll find a blue device. Jump down to hit the device and turn it from blue to orange, which will open the gates around the room.
From there, head up to the right platform, then across the climbable wall to the platform with the ladder. Ascend halfway and jump to the platform with another chest to collect yet another Small Key.
Next, climb the ladder to return to the room filled with webs and clear them with Ignizol Echoes. Head through the right door to return to the split room.
Now that you’re back in the split room, head to the top of the stairs and unlock the door using one of your Small Keys. If needed, stock up on Hearts before entering.
How to beat the Faron Temple Dungeon mini-boss in Zelda Echoes of Wisdom
Inside, you will face the plant that previously swallowed a chest before you entered Faron Temple. To defeat it, send out strong Echoes to inflict damage while also attacking the heads. When the heads are dazed, look for the red ball on its neck that connects it to the base of the plant. Switch to Swordfighter Form and attack this weak spot to remove each head.
Once both heads are defeated, the plant will retreat, allowing you to access your map to find the next locked door.
Head for the marked location on the third floor map. From the Waypoint, move north until you reach the back wall, then go left until you find a door with a ladder. Go through this door and climb the ladder.
In the next room, head left to find a rock between two platforms. Use Boulder Echoes to weigh down the left platform, raising the right one to the ceiling. Proceed to the right and interact with the lock using one of your Small Keys.
Continue forward and down the ladder to enter a small room with a Waypoint. Activate it and proceed through the door nearby.
Upon entering this new room, the plant will reappear, now with four heads—two purple and two green. Use the same strategy as before: use Echoes to distract the heads, pull at them with ‘Bind’ to daze them, and strike the weak spots on their necks.
Once you defeat this plant, it will reveal a chest containing the Big Key.
Now, locate the Big Door to utilize your newly acquired Big Key. If you have already found this room and activated the Waypoint, you can warp there directly.
If you haven’t located the room yet, refer to your dungeon map and warp to the indicated Waypoint. From there, head right, past the wall, and north through the tall grass until you reach the wall you previously moved using ‘Bind’. Enter through the gap into the next room.
Continue through the door on the right and ascend the stairs in the middle of the room to reach the Big Door room. Activate the Waypoint to replenish your health if needed. Smash jars for Refreshing Grapes and Floral Nectar. When ready, use the Big Key on the Big Door and proceed inside.
Here, you will confront the boss of Faron Temple, Gohma. If you need assistance defeating Gohma, refer to a specific guide for strategies.
With Gohma defeated, you will have successfully completed the Faron Temple. Well done!
For more tips and strategies on your adventure, check out the additional walkthroughs available.















Post Comment