Hyrule Castle Dungeon walkthrough in Zelda Echoes of Wisdom
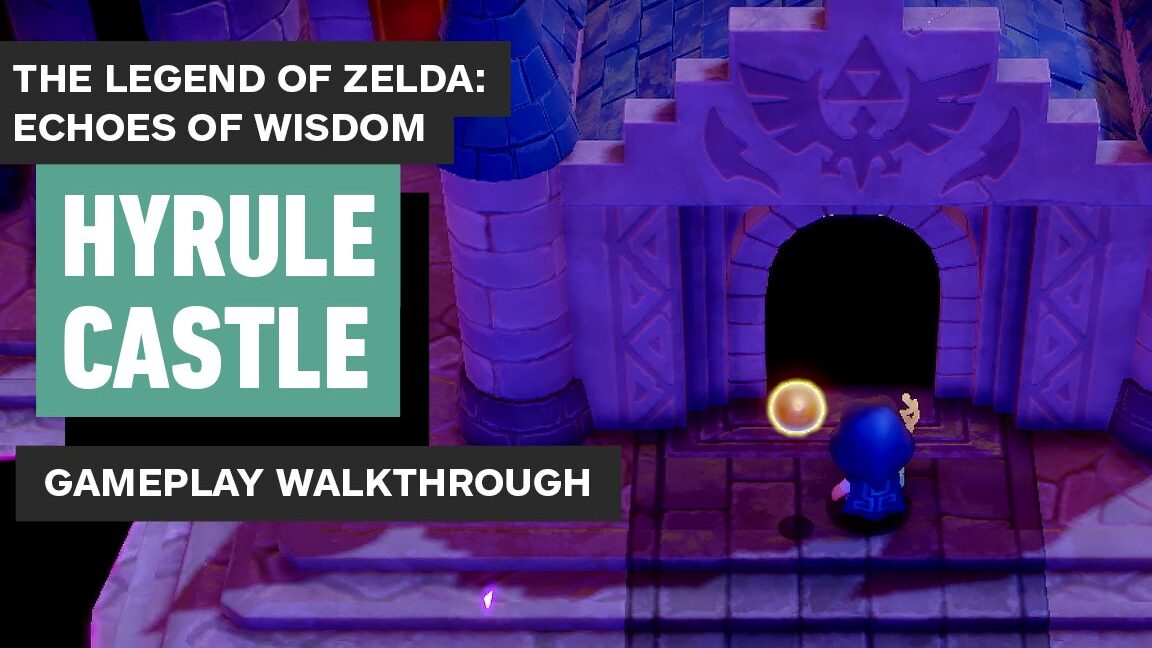
As you embark on your adventure in Zelda: Echoes of Wisdom, you’ll find yourself entering the Hyrule Castle Dungeon during the Still Missing main story quest. The familiar surroundings will feel quite different as you navigate this revamped location.
This dungeon is designed to challenge everything you’ve learned in previous dungeons, such as the Jabul Ruins and Gerudo Sanctum. Expect a host of enemies trying to obstruct your progress, so it’s advisable to prepare some smoothie recipes for additional boosts during your exploration.
Finding Hyrule Castle Dungeon
Your journey begins after you step through the portal created by Tri in the rift, leading you into the transformed Hyrule Castle Town. Upon exiting the portal, you’ll find yourself in a small room. Move through the door and into a larger area filled with beds; simply ignore the distractions and head south through the door.
Once outside, follow the path south and then to the right, utilizing Echoes and Swordfighter Form to fend off any enemies you encounter. You’ll eventually reach a small building with two archways; continue past this structure and squeeze through the gap between the box and the wall to the right.
Keep heading north past the small buildings and onto the broken path before you. Follow the path as it curves to the left, leading you onto the tilted walls of the castle. Navigate along this path, and you’ll eventually reach the tip of a spire on the left side.
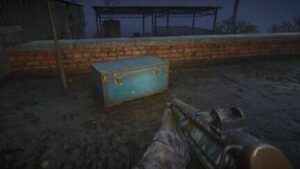
Hop off the spire and continue your journey north past a fountain. Just beyond the fountain, you’ll spot a chest nestled in the grass to your right. When you climb up, an enemy will appear, but you can activate a Waypoint nearby and use ‘Bind’ to pull the chest from the grass, revealing seven portions of Radiant Butter.
Return to the water and swim north until you reach another platform area. Get off the waterfall to the right and explore this section, collecting some Rupees along the way. Use Echoes to return to the higher area on your left, then swim into the water wall to the north and ascend to the top again.
Exit to the left and follow the path into the large bodies of water, which will eventually lead you to the entrance of the Hyrule Castle Dungeon.
Hyrule Castle Dungeon Walkthrough
Upon entering the Hyrule Castle Dungeon, activate the Waypoint to your right before proceeding down the red carpet. Ascend the stairs and continue through the next door, leading you into a long corridor. Follow the carpet until you encounter a Darknut Lv.2. Defeat it using Echoes and Swordfighter Form, collect its Echo, and continue onward.
You’ll find yourself in the throne room, where you must push the throne aside using ‘Bind’ to reveal a ladder. Descend the ladder and follow the path left until you reach another ladder leading to a small room. Activate the Waypoint in this room before heading to the upper right corner to use ‘Bind’ to open a secret wall.
Once behind the bookshelf, remain stealthy to navigate through the area filled with enemies. If detected, you’ll be thrown into a penalty room where you can defeat the enemies and return to your last checkpoint.
Make your way across the room, through the door, and into an area where you can use a Trampoline Echo on a bench to vault over a wall. You’ll encounter Impa, but there’s nothing to be done for her at this moment, so continue following Tri and read the indicated book.
After reading, head north and activate the next Waypoint near a ladder before descending. At the bottom, smash the jars on your right for some Refreshing Grapes and a heart, then encounter another Dark Nut Lv.2. Defeating it will allow you to progress down the ladder, where another Dark Nut awaits. After taking it down, ascend the next ladder to a new room.
Here, continue left and drop down to collect a chest containing a Monster Stone. Head back up the small ladder, continue to the right, and down another ladder to find two more chests. After defeating the nearby enemy, open the chests to receive three Twisted Pumpkins and five jars of Floral Nectar.
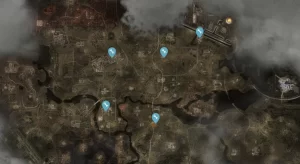
Map Location
In the next area, look for a torch behind a wall that Tri will point out. Light this torch using an Ignizol from a distance, then head to the right side of the room to find another torch, which is slightly more challenging to reach. Throw Ignizol onto a smaller platform and use ‘Bind’ to position it above the second torch, lighting it when in place.
After lighting all four torches, the door between them unlocks. Inside, you’ll find a Gustmaster on a platform in the middle of the room. Use ‘Bind’ to bring it over to a more stable area and defeat it to collect its Echo. Continue along the path, using ‘Bind’ to drop other Gustmasters into dark holes to deal with them quickly.
Eventually, you’ll encounter a group of Ignizol enemies. You can choose to defeat them or sneak past. Proceed through the door to the right into a room with a half-sand floor. Place a Gustmaster Echo on the plinth to clear sand piles and reveal a chest half buried in the sand containing the Hyrule Castle Dungeon Map.
Big Key Location
In the next room, you’ll find the Big Door but will ignore it for now. Activate the Waypoint to the left before heading through the door. This room features a strong water current, and more enemies await. Use Echoes and Swordfighter Form to take them down before making your way to the ladder in the center of the water.
Climb down the ladder, dive into the body of water, and light up the coral to reveal a Bio Deku Baba. After defeating it, swim through the gap it reveals and find a chest containing 20 Rupees. Keep swimming down to encounter more goo, which you can clear away using Swordfighter Form.
Continue swimming to the left, clearing any goo walls that block your path. Light the coral at the end and swim down to find another chest containing 100 Rupees. After collecting this, swim back to the light-up coral and follow the path until you reach the surface, climbing out of the water and up the ladder.
In this new area, avoid detection from patrolling guards by climbing onto a tall platform. Use a Pot Echo to distract them, then make your way across to the next tall platform with a switch. Activate the switch to reveal a chest in the middle of the room. Head back behind the wall to open the chest and collect a Small Key.
With the key in hand, return to the platform with the switch and make your way to the door on the right side. This leads to another area with sand, where you’ll encounter an enemy that you should defeat. Move south at the two boulders to find a ladder and use the Small Key to unlock the door at the bottom.
Inside, you’ll face another Gustmaster. Once defeated, use Echoes to navigate to the far right side of the room. Climb up the ladder on the right, leading to a small room where you can heal if necessary. Proceed through the door to face three strong enemies, including a Ball-and-Chain Trooper.
Use Echoes and Swordfighter Form to defeat them, especially focusing on the Ball-and-Chain Trooper. After clearing the room, head north to a new area with three chests. Open the red chests to find a Golden Egg and a Frog Ring, which enhances Zelda’s jumping ability. Finally, open the big purple chest to obtain the Hyrule Castle Dungeon Big Key.
Return through the doors until you’re back in the sand room. Use the Big Key to open the Big Door and confront the boss of the dungeon, Ganon. It’s important to note that this version of Ganon is an echo rather than the real villain.
For strategies on defeating this Ganon, consult other resources. Completing the Hyrule Castle Dungeon is a significant milestone in your journey. Good luck, and enjoy your adventure in Zelda: Echoes of Wisdom!
Related posts:
 How to escape Hyrule Castle in Zelda Echoes of Wisdom
 Escape from Hyrule Castle in The Legend of Zelda: Echoes of Wisdom
 Zelda Echoes of Wisdom Suthorn Ruins Dungeon walkthrough
 Zelda Echoes of Wisdom Gerudo Sanctum Dungeon walkthrough
 Zelda Echoes of Wisdom Jabul Ruins Dungeon walkthrough
 How to reach the chest behind the wall in Gerudo Sanctum Dungeon in Zelda Echoes of Wisdom
 Zelda Echoes of Wisdom Elusive Tumbleweeds walkthrough
 Zelda Echoes of Wisdom Finding the Flying Plant walkthrough
 Zelda Echoes of Wisdom Runaway Horse walkthrough
 Zelda Echoes of Wisdom Tornado Ghost walkthrough
 Zelda Echoes of Wisdom Eldin Temple walkthrough
 Zelda Echoes of Wisdom Automaton Engineer Dampé walkthrough


Post Comment