The desert breach in The Legend of Zelda: Echoes of Wisdom
The Desert Breach is one of the significant main missions in The Legend of Zelda: Echoes of Wisdom. This quest becomes available in your journal once you enter the Gerudo Desert region. The mission is directly connected to the quest called After the Vanished, and in this guide, we will detail the objectives and how to complete them so you don’t get stuck.
How to Complete the Mission: The Desert Breach
The initial objective of this mission is to find a location from which you can create a portal to the breach that has opened in the desert.
To achieve this, you first need to explore the area surrounding the large breach.
Head to the location marked on your map (ruins located south of the desert’s center) where you will encounter a Gerudo warrior guarding access to a cave. Speak with her, and she will inform you that you need authorization from the matriarch to enter. Suddenly, you will hear a scream nearby to your right. Tohna, the Gerudo guard captain, is being attacked by dark enemies. Defeat them with the help of your replicas and your sword power.
After assisting the captain, head to the Gerudo Citadel, located directly to the west of your position. Its location is marked on your map. Enter the Gerudo palace, which is the largest building. Speak with the matriarch, and once you’re done, leave the palace and go to the oasis to meet Tohna there.
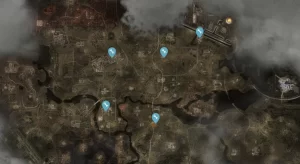
The woman will ask you to close three smaller breaches scattered throughout the desert. You can tackle these objectives in any order you prefer. Their locations will be marked on your map:
As you get close enough to each of these locations, a main mission related to each breach will activate. You can refer to their respective sections in the guide for details on how to complete them (although they are quite straightforward):
- The Southern Breach
- The Ruins Breach
- The Caves Breach
Once you have completed these missions, return to the palace to meet with the matriarch and Tohna. After your conversation, you will need to travel to the northeast of the oasis, where the breach has expanded.
From here, you can create a point of access to descend into the Void of the Desert Palace.
Finding Tri’s Companions in the Void of the Desert Palace
Once inside the void, you will need to find five of Tri’s companions. Here’s where you can locate them:
Tri’s Companion #01
- Location: Start by moving to the right from the entrance of the area. Cross a floating tree trunk and descend a ladder into a 2D section. Move left while dodging falling platforms until you see a purple orb on a high ledge. Make the two yellow blocks fall, then link to them and push them into the gap on the right. Clear the path and create object replicas to reach the orb and rescue the first group.
Tri’s Companion #02
- Location: Exit the cave where the first group was and climb the steps in front of you. Cross the floating structure to the right. Here, you will need to create several object replicas to ascend to the upper area. By forming a bridge with beds, you can reach the second group, who are trapped under a heavy rock. Push it to save them.
Tri’s Companion #03
- Location: From the second group’s position, head directly left and then north to climb onto another structure where you will find this third group of companions.
Tri’s Companion #04
- Location: From the third group’s position, look to your left to see the fourth group on a cut tree trunk. You can reach them by using object replicas.
Tri’s Companion #05
- Location: From the fourth group’s position, head south back to the ladder from the first group’s cave. Cross the floating tree trunk back and walk to the left edge of the stage to see the last group floating above a tall pillar. A recommended way to reach them is to have unlocked the floating tile replica. Simply create the tile, stand on it, and jump when it’s above the pillar.
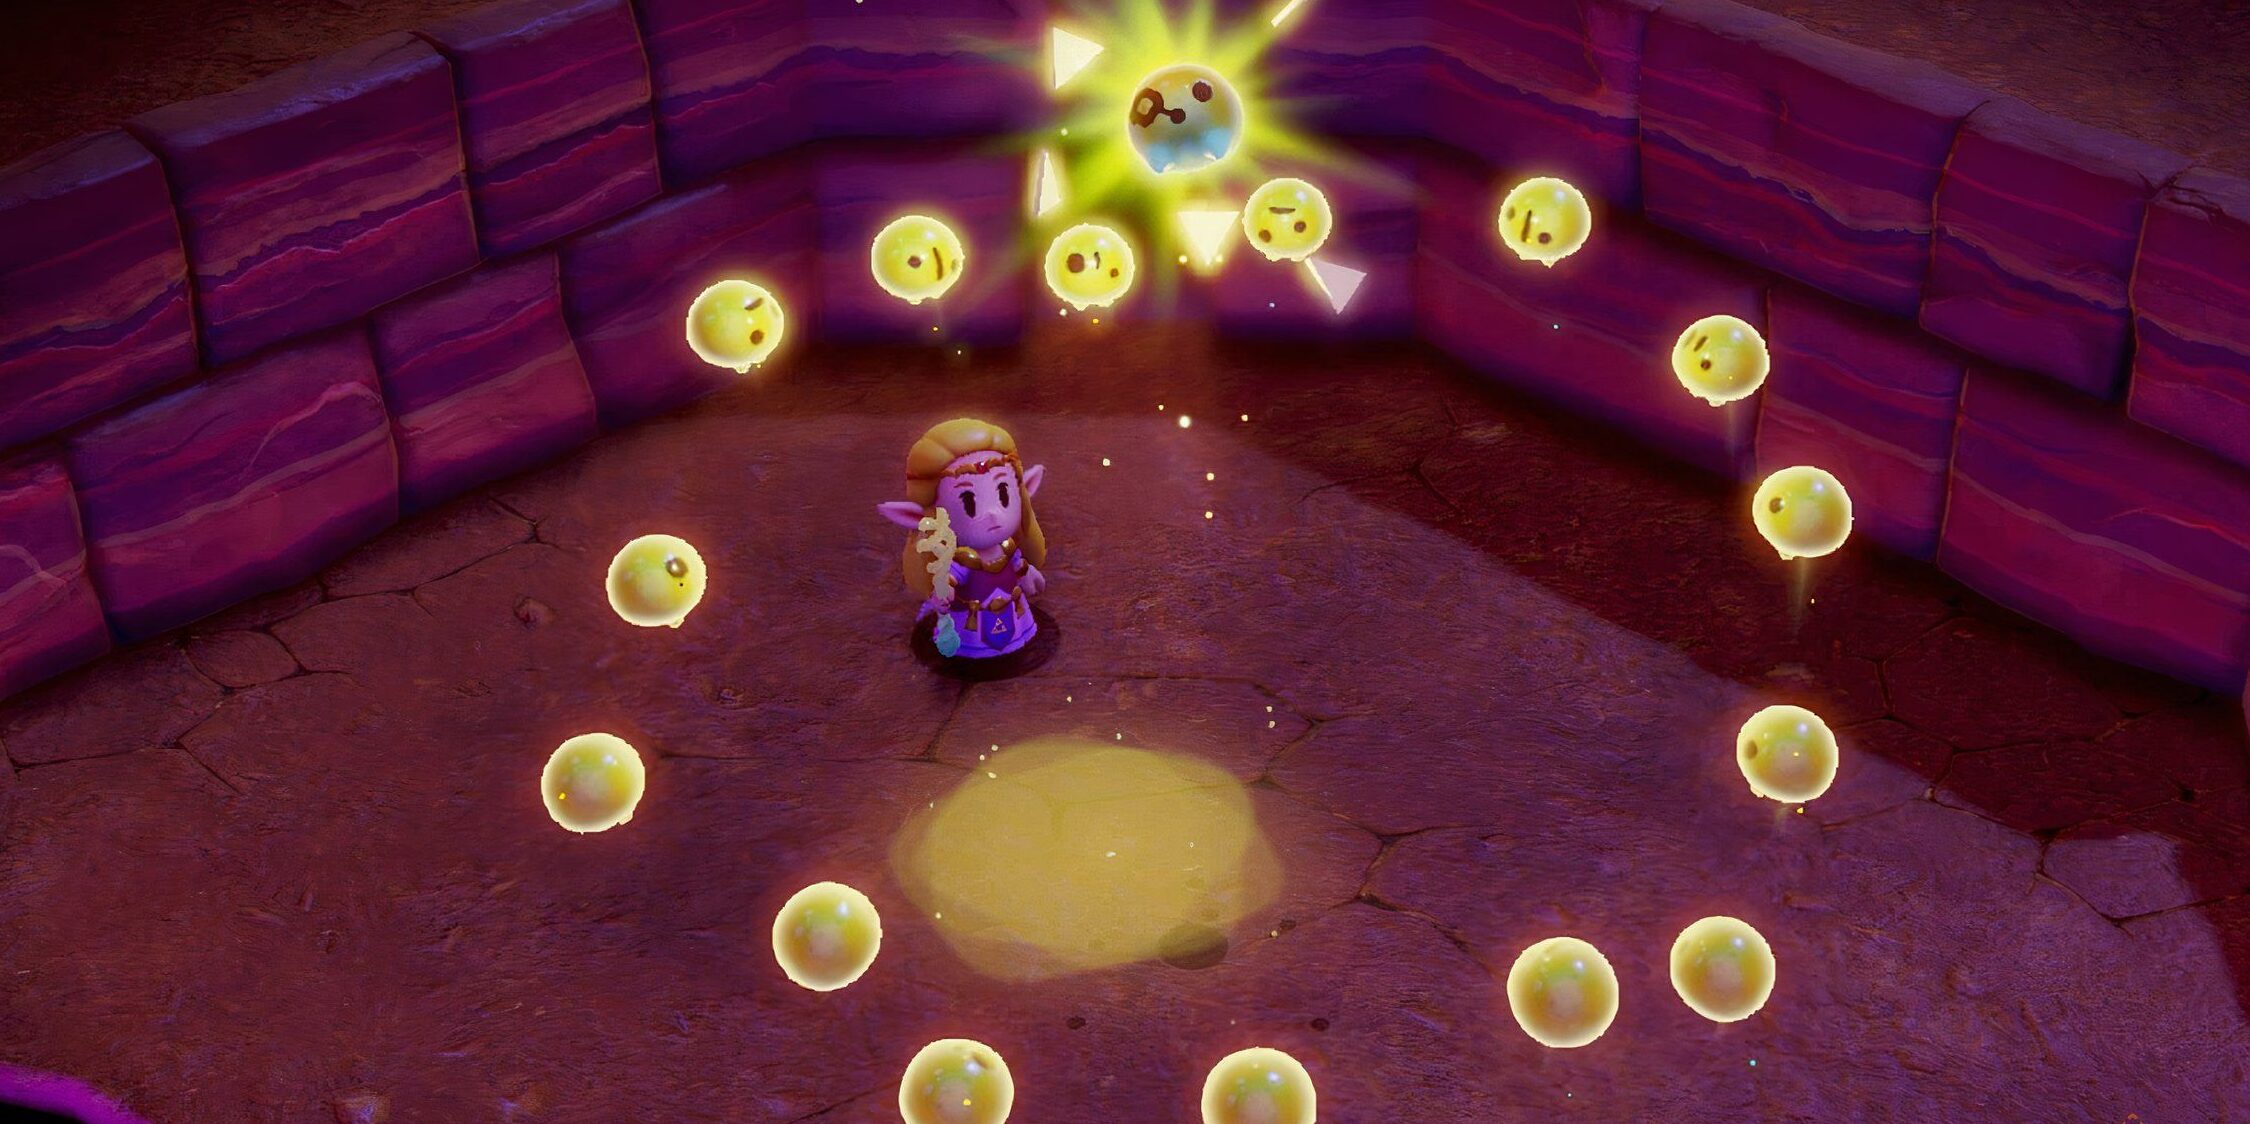
After rescuing Tri’s companions and sealing this breach, Tri will gain some power, and you will receive two power fragments as a reward.
Accessing the Desert Crypt
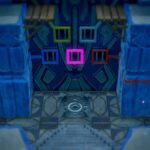
Now, you will have permission to access the southern crypt of the desert, which was previously inaccessible. Head there and enter the Device Cave. In the first room, there will be a closed door. Use a replica of the creature to throw an enemy against the mechanism on the left to open the door.
In the next room, there is another locked door. Go to the first passage on the right and place heavy rocks in front of the air cannons to reach the next room. In this room, there is another mechanism you can hit, but you will need to dodge some spike traps (these enemies are called destroyers).
You can use heavy rocks to block them or defeat them with monster replicas. After activating the mechanism, a chest will appear to the right in a sandy area with two gibdo enemies. Go there and defeat the mummies to collect a small key from the chest. Now, return to the earlier locked door and head down a stairway to a 2D area.
In this area, you will need to descend stairs while defeating the destroyer enemies with your replicas. Then move to the right and ascend. Further up, you can use an air cannon to clear a pile of sand blocking your path and climb another stairway to a hallway with a level 2 gibdo. Defeat it and continue right to find the sand plug that you can pull back by linking to it.
Pulling this plug will clear the entrance to the Gerudo Crypt. Now return to the outside and enter the crypt to create a point of access leading to the dungeon. We will explain how to complete it in its section of the guide. Upon finishing, this desert mission will be concluded.
Related posts:
 The Ruins Breach in The Legend of Zelda: Echoes of Wisdom
 How many hours is The Legend of Zelda Echoes of Wisdom?
 Frequently Asked Questions in The Legend of Zelda: Echoes of Wisdom
 Sudelia Ruins at 100% in The Legend of Zelda: Echoes of Wisdom
 The mystery of the breaches in The Legend of Zelda: Echoes of Wisdom
 Escape from Hyrule Castle in The Legend of Zelda: Echoes of Wisdom
 Gerudo Crypt at 100% in The Legend of Zelda: Echoes of Wisdom
 The cave gap in The Legend of Zelda: Echoes of Wisdom
 The Southern Gap in The Legend of Zelda: Echoes of Wisdom
 After the fade-outs in The Legend of Zelda: Echoes of Wisdom
 How to get the Jungle Emerald, Ocean Sapphire and Desert Ruby gems in Core Keeper
 Best Echoes to get early in Zelda Echoes of Wisdom


Post Comment