Temple of Farone at 100% in The Legend of Zelda: Echoes of Wisdom
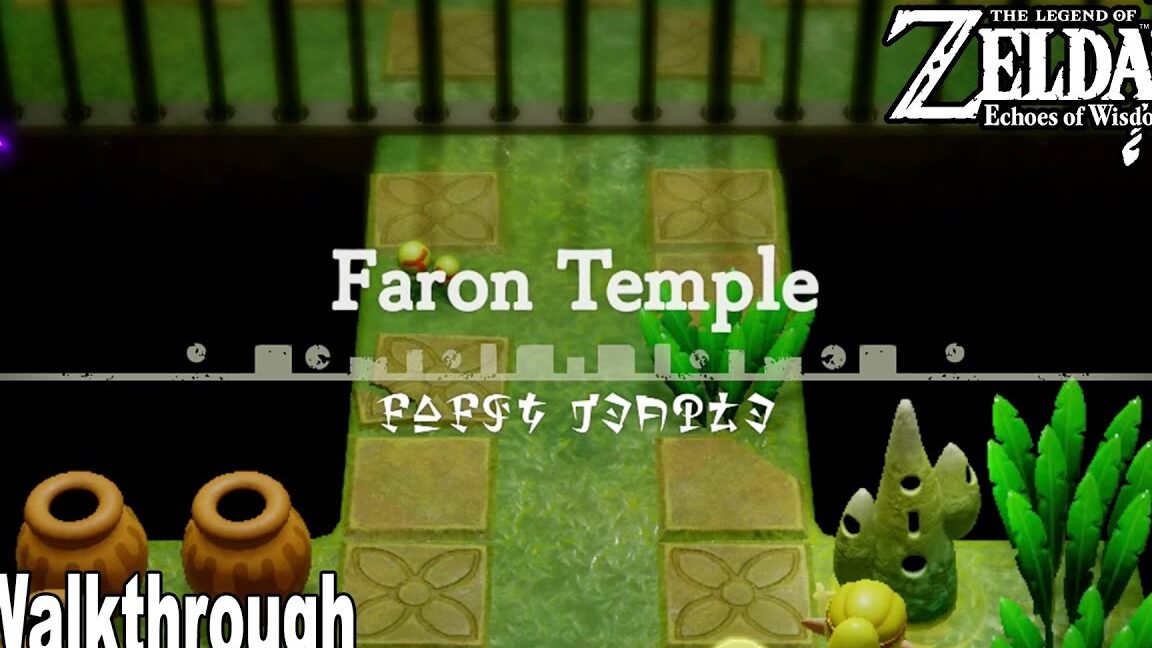
The Temple of Farone, located in the Farone Swamp, is one of the dungeons in The Legend of Zelda: Echoes of Wisdom. This is the seventh dungeon you will access during the quest titled “The Swamp’s Breach.” In this guide, we will explain how to complete the dungeon 100%, overcoming various puzzles, rooms, bosses, and ensuring you don’t miss any secrets or treasure chests.
How to Complete the Temple of Farone
Upon arriving at the temple entrance, you will encounter an enemy resembling a Deku Baba that will swallow the chest containing the boss key and flee with it. Your first task is to enter the main building through the front door to activate a teleportation pillar.
At this point, you cannot proceed since a barrier blocks your path. Therefore, exit back to the exterior, heading directly to the right where you’ll find a large stone hiding a set of stairs covered with weeds.
Descend the stairs into a room with water on the second floor of the temple. Swim through the water and eliminate a statue-like enemy by attacking it from behind, which is its only weak point. Open the side chest to collect 50 rupees and continue up the stairs on your left.
You’ll reach a room with small moving platforms on rails and three green pillars that need to be electrified, guarded by an electric enemy (like an electric Keese).
Activate the three pillars to open the upper door. Ascend to this room on the third floor to find a chest containing the dungeon map. Press the button on the floor next to the chest to open the door on your left.
Proceed through this door to reach the central hall of the temple’s second floor. If you press the button next to the stairs, it will lower the barrier at the entrance you saw earlier.
Now descend the ladder on the floor to access a cave where you’ll find two platforms that operate in tandem based on weight. Stepping on the first platform will lower it and raise the opposite one. Place heavy rock replicas on the first platform to lower it enough to continue to the left.
You’ll enter a space filled with enemies and several ledges. Here, you can use the Cling Spiders to reach a chest containing 10 bundles of fire spices. There isn’t much else of interest, but you can climb the stairs at the top left corner leading to the temple’s exterior, back to the central hall.
In the central hall, ascend the stairs to access the door on the left. You will need to navigate through a room with Beamos enemies (the single-eyed blue ones that shoot rays) to reach the southern door leading back outside, this time to the higher part of the temple.
Upon exiting, head right to find a row of statues. Move one of them using the binding ability to discover a hidden door behind it.
In this room, you will encounter three green pillars that need electrifying again. You can use an electric Keese to quickly zap each pillar by aiming with the ZL button.
Once you electrify all three pillars, a chest will appear containing a small key. Return to the central hall and take the door on the left at the bottom. Inside, where the electric Keese is, cut the weeds and pass through a door into a dark room.
In this room, you can use replicas of braziers to illuminate the area. There are several unlit braziers scattered throughout the room, and lighting them all will fully illuminate the space.
Depending on how you enter this room, if you go directly down and to the right, you can open a locked door with the small key leading to a small room with a golden egg. Return to the dark room and consult the map to locate a staircase in the upper left corner and head towards it.
You’ll enter a room with two weight-operated platforms, two locked doors, and a mechanism with an eye underneath the left platform that needs to be activated. To reach this mechanism, throw two heavy rock replicas through the bars on the right to make the left platform descend.
Thanks to the weight of the rocks, the left platform will rise enough for you to go down to the eye mechanism. Hit it and head towards the chest to obtain another small key. Climb the stairs to exit this room.
Return to the central hall of the temple to unlock the closed door here. You will have to face a mini-boss—the same plant that stole the chest at the start of the dungeon.
The strategy to defeat the mini-boss is straightforward: create replicas of monsters to attack the plant’s heads until they are stunned. Once a head is stunned, it will extend its stalk, revealing a pink orb near the center of its body. Strike this pink orb to inflict damage to the mini-boss.
After dealing some damage, the plant will flee, leaving you unable to finish it off for now. Return to the dark room you visited earlier and head towards the lower right corner where spike traps await, leading to an exit on this side.
Entering this room will trap you, where you’ll find two floor switches that must be pressed simultaneously. The key to achieving this is to create a replica of an Armos (the walking statues with sword and shield) and direct it to one of the buttons while you press the other.
In the next room with a teleportation pillar, jump into the water and exit south towards the outside of the void area. Upon exiting, head right to find a wall with several cobwebs. Burn the smallest one to reveal a hidden door.
Enter another room with two floor switches that you must press simultaneously. Move the statues in the room out of the way to avoid interference, and this time create two Armos replicas to walk simultaneously towards each switch. You can easily do this from the same position as before.
After opening the door, proceed to a room where you will face a mini-Gohma and an electric summoner. Defeat both before continuing to another dark room containing a teleportation pillar.
In this room, you will need to illuminate the pedestals with a brazier (or a fire monster) to fully light up the area. After that, burn the largest cobweb on the floor between two braziers to reveal a staircase leading downwards.
You’ll enter a flooded area where you must dive to reach higher stairs. Start by moving two heavy rocks out of the way. Then, you’ll arrive at a section with several bubble currents. Move to the left side, head to the upper corner, and use a Cling Spider to reach a chest containing 50 rupees.
Now head back to the right and use the binding ability to push the statue in a narrow upper passage leading to the exit. Move it as far left as possible. Then, go to the opposite side and pull the statue from behind to clear a path to swim upwards from the right side to exit.
Upon entering the next room, it will also be dark, so light up the various braziers around the area to fully illuminate it. Afterward, locate three green pillars you need to electrify.
When you ignite these pillars, doors will open on either side. The right door leads to the previous room, so head through the left door to access a room with a pressure plate puzzle and several enemies. First, eliminate the enemies to avoid distractions.
Pay close attention to the two large pressure plates on each side of the stairs. Remove the small stones from both platforms to eliminate their weight. The solution to this puzzle is to create two statues that can coordinate simultaneously to press the two buttons that open the locked doors.
As expected, you cannot stand on either platform while doing this. Keep in mind that you can create one statue first, and it will continuously move back and forth toward the button. You just need to time the second statue’s launch toward the other button correctly. If you do it right, both will reach their buttons in sync.
After opening the doors, do not go through the upper one (you will return here shortly). Instead, take the left door to find a chest containing another small key. Additionally, if you push the lower wall with the binding ability, you can open a shortcut to the first dark room of the dungeon.
Regardless, return two rooms to the right to the second dark room you illuminated earlier. In this room, ascend the ladder located on the north wall.
You’ll arrive in a small side room that contains two pressure plates and a locked door. To access it, place two heavy rocks on the first plate, then drop down to the right and use stacked beds and other object replicas to reach the door.
This will bring you to the dungeon’s basement level. Proceed through the door to face the mini-boss once again. This time, the battle is more challenging as the plant will have more than two heads to attack you. Again, you must stun each head and then strike the pink orbs on their stalks.
Unlike the previous battle, this one also introduces frogs that summon rain to the arena, so if you intend to throw bombs or use fire monsters, you’ll need to eliminate the frogs that appear first.
Once you defeat the mini-boss, you will finally be able to open the coveted big key chest. All that remains is to travel to the boss room. To do this, return to the room where you solved the last puzzle with the two pressure plates and coordinated statues. Proceed through the door at the top of the stairs and prepare for the final battle.
Battle Against the Boss Gohma
Gohma is a massive spider whose weak point is the eye on its back. To attack it there, you must first electrify the three green pillars located on its various legs.
During the first phase of the battle, Gohma will climb the back wall of the arena and throw webs and Gohma eggs your way (in addition to shooting a powerful beam from its eye). At this moment, you can use replicas like the electric Keese or, even better, the electric summoner to quickly zap the pillars on its legs.
Once you manage to electrocute it, Gohma will fall to the ground, stunned, and its back eye will open. Take this opportunity to leap onto Gohma’s back and damage the eye as much as you can, preferably using the sword skill.
After this, Gohma will become enraged and change its offensive strategy. Prepare to dodge as it will charge at you with its front pincers. The good news is that after the attack, its pincers will remain stuck in the ground, providing you with an excellent chance to electrify its three green pillars once again.
Once again, this will cause Gohma’s back eye to open. Repeat the process and attack with all your might. From this point, the battle will not change in terms of its movements, so you’ll know exactly what to do to defeat it whenever it’s on the wall or on the ground.
After defeating the boss, as usual, you will receive 5 power pieces, Tri will gain a level of power, and this time you will also receive the legacy of Farore. Additionally, you can collect a new heart container before returning to the outside world.












Post Comment