How to install Bluestacks to run Android games on PC
While many people have smartphones, not everyone enjoys playing games on them. There are numerous exciting titles available for Android, but the vertical screen and dependence on a mobile device can be limiting. Thankfully, if you’re a PC user, you can utilize Bluestacks, an Android emulator that lets you download and play games directly on your computer. In this guide, we’ll go over how to install Bluestacks step by step.
Steps to Download and Install Bluestacks on Your PC
To get started, you first need to download the emulator. The safest option is to do so from the official Bluestacks website. Avoid unofficial sites to ensure you receive a secure and verified version of the software.
When you visit the official site, you will find two versions available: Bluestacks 10 and Bluestacks 5. Choosing between them requires consideration of your computer’s capabilities. If you have a less powerful machine, Bluestacks 10 is recommended, as it utilizes cloud hybrid processing to run games, though you may have to sacrifice some graphic quality.
If your computer has better specifications and you desire higher graphic fidelity, Bluestacks 5 is the better choice since it operates entirely on your machine. Below, we’ll detail the recommended specifications for running Bluestacks 5 effectively.
Installing the Emulator
After downloading, double-click the .exe file to initiate the installation. During this process, Bluestacks may request that you enable virtualization. This feature allows your system to run an additional operating system, in this case, Android, alongside Windows.
If you’re unsure how to enable virtualization, I suggest looking at the official instructions from Bluestacks. While it’s possible to run Bluestacks without enabling this feature, you may be limited to a 32-bit version, which can affect performance. Therefore, enabling virtualization is highly advised when possible.
Getting Started with Bluestacks
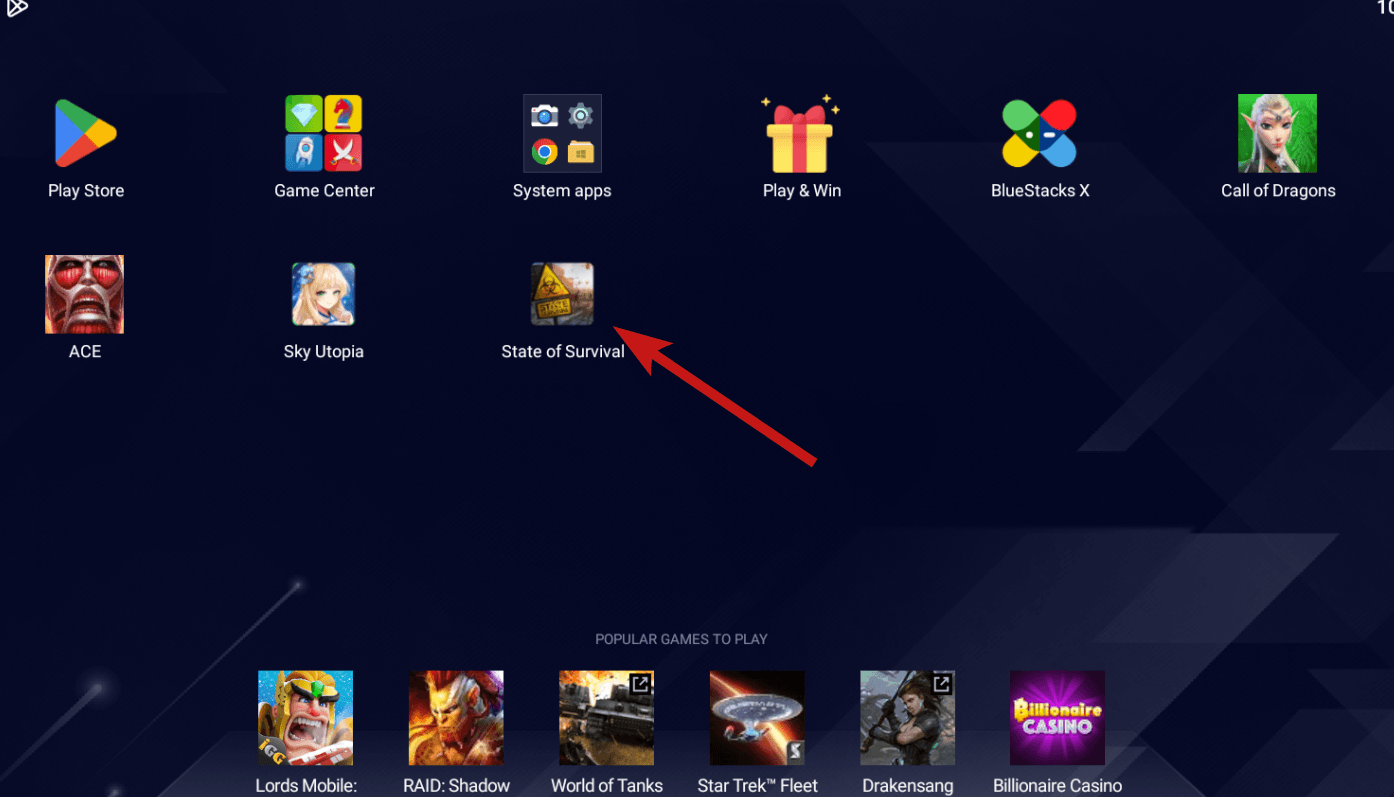
Once you’ve completed the installation, launch Bluestacks. You’ll see a familiar interface displaying various games available for download. Select the game you wish to play, and you will be directed to its specific page.
If you successfully enabled virtualization, you can click the play button to install and start the game using the App Player. You’re now ready to play Android games on your PC.
Hardware Requirements for Bluestacks 5
Here’s what you need to know regarding the hardware necessary to run Bluestacks 5. As of 2024, the hardware requirements are quite flexible, but generally, a more powerful PC will provide a better gaming experience.
Minimum System Requirements
- Operating System: Windows 7 or later
- Processor: Intel or AMD Processor
- RAM: 4 GB
- Graphics Card: Not applicable
- Storage: 5 GB available space
Recommended System Requirements
- Operating System: Windows 10 or newer
- Processor: Intel or AMD processor with a single-thread benchmark score exceeding 1000
- RAM: 8 GB
- Graphics Card: Intel/NVIDIA/ATI, either integrated or discrete GPU with a benchmark score of 750 or higher
- Storage: 5 GB SSD
With the proper setup and Bluestacks installed, you can enjoy your favorite Android games on a larger screen with better controls. So get started and enjoy your gaming experience!


Post Comment