Final Fantasy 7 Rebirth Absence of a Sign walkthrough
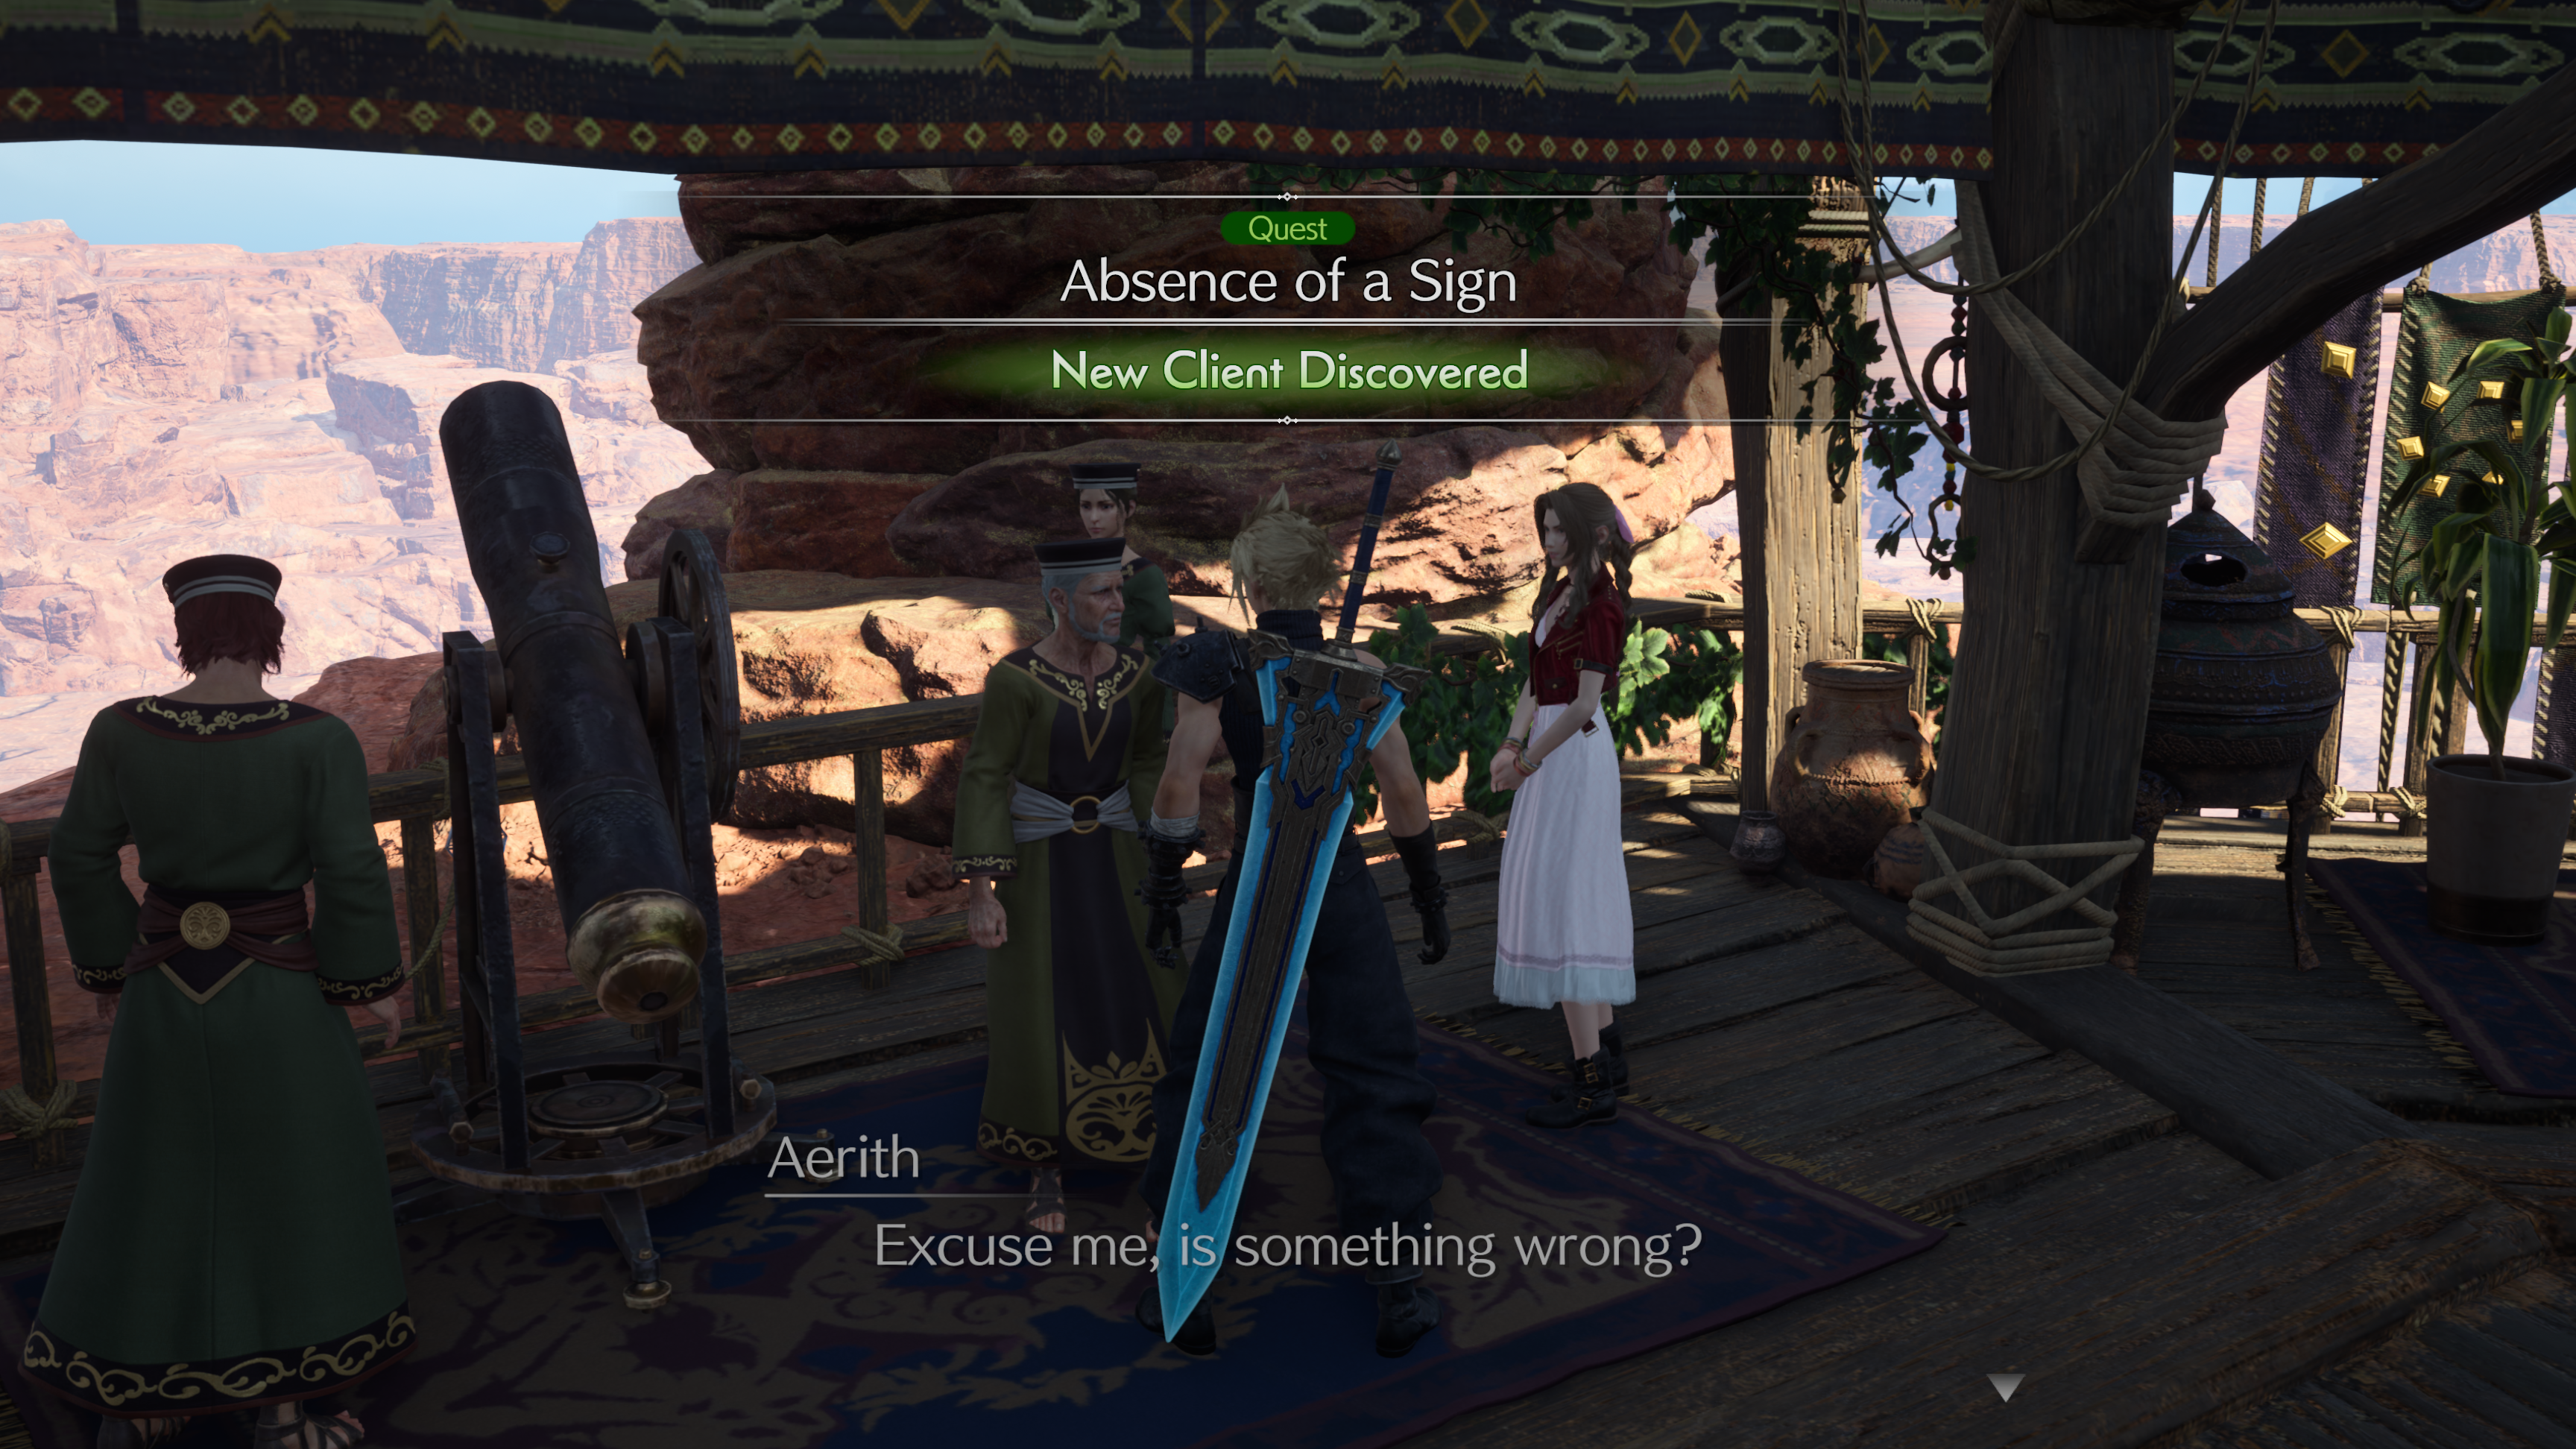
The Absence of a Sign quest in Final Fantasy 7 Rebirth will have you navigating the stunning landscape of Cosmo Canyon. Your primary objective is to capture accurate photographs for scholars at the Planetary Assembly.
This optional side quest becomes available only after you progress through a significant portion of the main storyline in this area. Once unlocked, you can put your exploration skills and Chocobo abilities to good use as you embark on this exciting quest.
In this guide, we will detail how to complete the Absence of a Sign quest in Final Fantasy 7 Rebirth.
How to start Absence of a Sign in Final Fantasy 7 Rebirth
To initiate the Absence of a Sign quest, ensure you have completed the story mission titled ‘Uninvited Guests’ in Chapter 10 while in Cosmo Canyon.
After finishing this mission, return to the settlement and fast travel to the Planetary Assembly using one of Bugenhagen’s assistants.
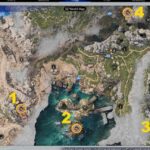
Once there, approach Ceasar located by the Telescope on the balcony to begin the quest. He will instruct you to visit three different locations around Cosmo Canyon to take photographs that correspond to the images in his notes. Aim for photographs with at least 80 percent accuracy, but Ceasar will accept any photograph if you’re having difficulty.
Final Fantasy 7 Rebirth Absence of a Sign Celestial Phenomena location one
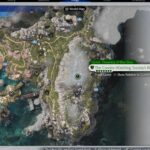
Getting to the first photograph location poses the greatest challenge, so let’s address this first. The target area is marked on the map below:
To access this location, you’ll need to have the Cosmo Canyon Chocobo and head to Gliding Range No.6, situated southeast of your destination.
After reaching Gliding Range No.6, jump off and glide towards the wooden landing pad directly opposite you.
Upon landing, follow the path around to the right until you arrive at the launch area for Gliding Range No.7. Jump off and glide to the wooden landing pad again, utilizing the fans to keep your Chocobo airborne.
Once you land, look to your right for some small wooden steps leading into a rock formation.
Climb these steps and hop onto the rock. You should see a wooden path around the outer edge of the inner rock formation; follow this path to reach the launch area for Gliding Range No.13.
From there, glide across to the landing pad opposite you using the fans. After landing, continue through the path past the first launch ramp on your right and the Blustercave Lifespring, moving upwards until you find the launch ramp for Gliding Range No.16.
At this ramp, look across to see a Remnawave Tower—your next destination. Glide over using the fans to assist your Chocobo.
Once at the ground level near the Remnawave Tower, follow the path to the right, keeping an eye on your map to ensure you’re headed toward the Celestial Phenomena location. You may encounter some enemies, but you can navigate past them on your Chocobo.
Eventually, you’ll reach a high rock formation past an anvil in the ruins, where you should see a slight ramp made of rocks and a fan. Use this fan to propel your Chocobo into the air and land at the correct spot!
Enemies will be waiting for you here, specifically a Skeeskee and a large Reapertail. It’s advisable to take down the Skeeskee first, as it’s more of a nuisance, allowing you to focus on the Reapertail.
Utilize Ice attacks to pressure the Reapertail. A mixture of spells and abilities with this elemental effect will help raise its pressure gauge, allowing you to stagger it and unleash Cloud’s Punisher Mode attacks for significant damage.
Once defeated, you can search for the perfect angle for your photograph. Stand by a small twiggy bush near the area entrance, facing northwest, where you’ll find a small Cacti stub in front of you. This matches the angle of the photograph you need to replicate from your notes.
When ready, bring out the camera and adjust your position to achieve the correct angle. Monitor the accuracy percentage at the bottom of the scope to ensure you’re close to the desired shot.
Once satisfied, confirm your photograph to complete the Celestial Phenomena: Moogle.
Final Fantasy 7 Rebirth Absence of a Sign sneaking a photograph of Aerith
During your second photograph opportunity, you can sneak a shot of Aerith. Timing is crucial!
To capture this image with 100 percent accuracy, wait until the scope turns green before taking the picture. This occurs when Aerith begins to make a wish while gazing at the constellation you’re facing.
Final Fantasy 7 Rebirth Absence of a Sign Photograph location two
To reach the second photograph location, head to Gliding Range No.4 and follow the path southwest, passing the Regional Phenomena, Expedition Intel, and Fiend Intel sites within the ruins. Continue along the dirt path until you reach a large platform area where you can spot the Reapertail.
If you’re uncertain if you’re on the right track, the dirt path will lead you past some tall columns.
Defeat the enemies in this area before searching for the right position for your photograph.
The easiest place to stand is slightly southwest of Aerith. Position Cloud in front of another twiggy bush, aiming to replicate photograph number three from your notes.
Bring up the camera and align the viewfinder above the bridge, ensuring it’s in line with the end of the larger rock formation on the left. Adjust the zoom to get the right accuracy percentage.
Once satisfied with your shot, confirm the photograph to secure the Celestial Phenomena: Bahamut.
Final Fantasy 7 Rebirth Absence of a Sign Photograph location three
Your final target location is near the Cosmo Canyon Airstrip.
To access this area, fast travel back to the Cosmo Canyon Air Strip. Upon arrival, look to your left for a pathway leading upwards against the cliff wall.
Follow this path straight to the final area. You will encounter another Reapertail, so be prepared to fight.
After defeating this Reapertail, position Cloud so that his head and the handle of his sword are slightly beneath the bottom left star of the constellation.
From this spot, aim your camera so that the center is just above the end of the slanted rock formation. Fine-tune the zoom to exceed 80 percent accuracy.
After capturing this final photograph, you will have found the Celestial Phenomena: Chocobo.
Final Fantasy 7 Rebirth Absence of a Sign rewards explained
After collecting all your photographs, return to Ceasar at the Planetary Assembly and report your findings to complete the quest.
Completing the Absence of a Sign quest rewards you with:
- Deepened relationship with Aerith
- Party EXP
- EXP
- SP – Multiple Characters
- XP – Multiple Characters
That’s all for the Absence of a Sign quest! If you’re interested in more content related to Final Fantasy 7 Rebirth, explore guides and tips to enhance your gameplay experience.

















Post Comment