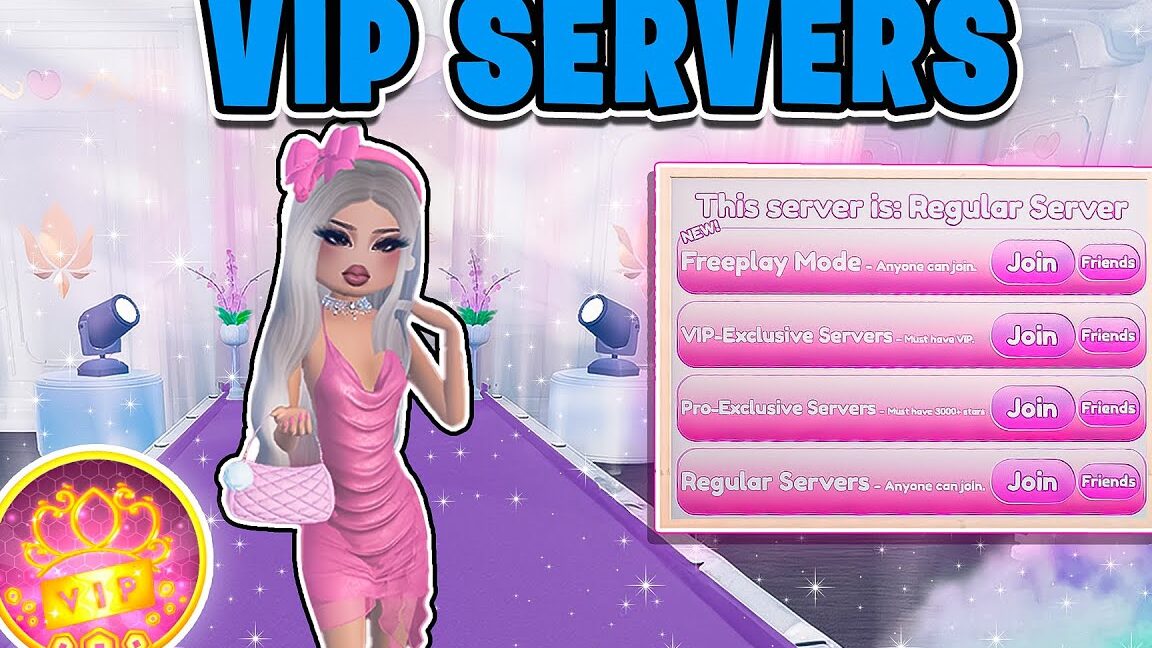
How to create a private server in Dress to Impress
If you’re looking to escape the public server voting in Dress to Impress or want to host your own fashion shows with friends, setting up a private server is the perfect solution. This guide will take you through the steps to create and customize your own private server.
How to Set Up a Private Server in Dress to Impress
Establishing a private server in any Roblox game, including Dress to Impress, is quite easy. Begin by logging into your Roblox account and heading over to the Dress to Impress game page. Once you’re there, scroll down to the section dedicated to social media.
Here, you’ll see an option to create a private server. Keep in mind that there is a charge of 100 Robux for this feature. After you click “Create Private Server,” you’ll need to personalize it by giving it a name and selecting the users you wish to invite by entering their usernames and designating their roles.
After you finish these steps, you’re ready to go! You can now enjoy your private server at any time, whether you’re playing with friends or on your own.
Advantages of Having a Private Server
Owning a private server gives you total control over your gaming experience. You can invite only the friends you want, establish specific rules, and play without interruptions. This kind of flexibility can significantly enhance your enjoyment and make the game more aligned with your preferences.
Conclusion
Setting up a private server in Dress to Impress can greatly enrich your gaming experience. With just a few simple steps, you can create a space that showcases your style and fosters creativity and fun among friends. So why not get started? Dive into your fashion gaming adventure today!


Post Comment