Silent Hill streets at 100% in Silent Hill 2 Remake
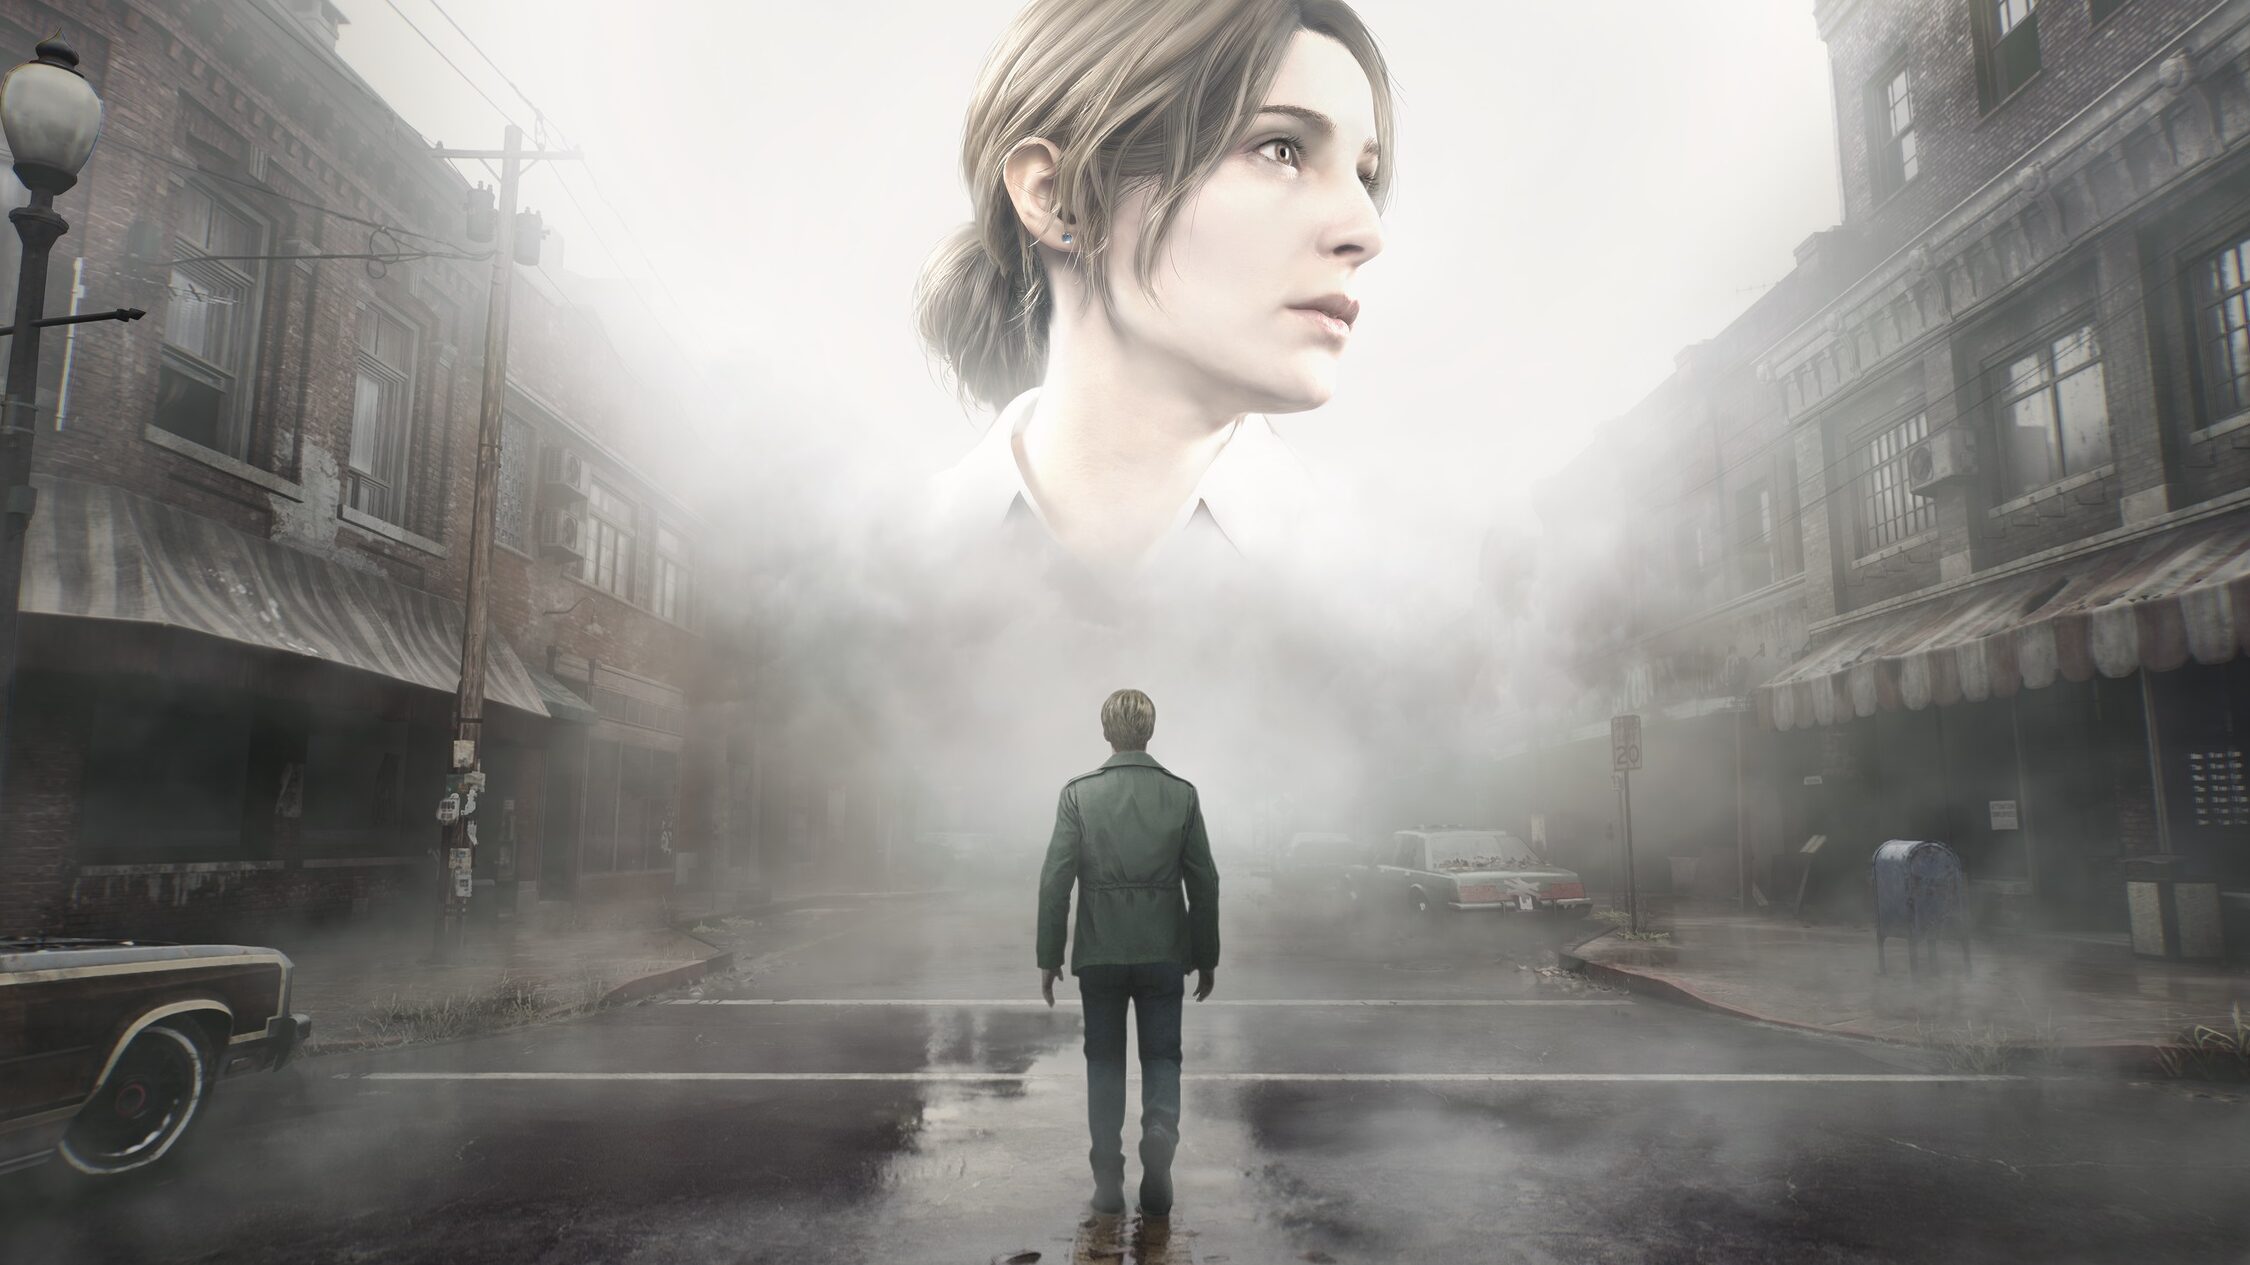
The Streets of Silent Hill serve as the second part of our comprehensive guide for navigating the Silent Hill 2 Remake. This section picks up right after the Prologue. Throughout this guide, we aim to assist you in overcoming each area without revealing any major plot details. This includes collectible locations, puzzle solutions, and much more.
As you embark on your journey into the area, you will acquire the Map of the East Side of South Vale. Head straight until you reach the florist shop, identifiable by its “FLOWERS” sign above the entrance.
Inside the shop, at the back, there’s a counter that holds a Message from the Florist.
Next, exit through the double doors at the back right of the counter. You will notice a peculiar trail. Back outside, proceed west until you reach an intersection, then head north. At the Texan Café intersection, you’ll encounter another part of that unusual trail. You might attempt to enter through the gate, but you’ll need a key or a lever, which you currently lack. Continue north to watch a cutscene.
Keep heading north, but turn right at the intersection leading to Vachss Road.
Continue to the end where you will find a gate with a sign that reads “DO NOT ENTER”. Inspect the sign to uncover the second glimpse.
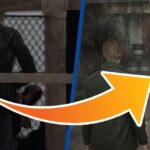
Now, to move forward, head west before reaching the cut-off path to the north. There’s a alley between the buildings. Follow a distinct trail of… let’s say blood. Cross the garden and the broken fence, turn right, and you’ll see a wooden door with a blood stain — that’s your way forward.
What’s this? Feeling a bit uneasy? As the naive protagonist, you’ll have to take the alley where you spotted the trail. This leads you to a garage with a gaping hole that allows you to sneak through. Proceed until you reach a save point, then enter through the kitchen door.
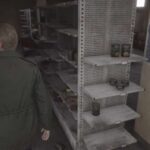
If you rummage through the drawers, you’ll find a sports drink, a type of healing item that will come in handy.
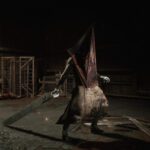
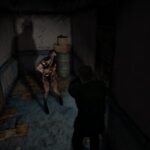
Exit into the hallway and follow the light to the door on the right. You’ll hear static noise; approach the sofa to collect the Radio. During this sequence, you will also obtain the Nail Board, which you can use to take down the first monster. Remember, as Columbus said, double tap — if it writhes on the ground, stomp on it until it’s truly done. From now on, pay attention to the radio; enemies can attack you even when your inventory or map is open. If you need a break, make sure to hit the pause button.
Retrace your steps where the monster came from, turn the corner, and you’ll find a crack in the wall that you need to go through. Just inside, to your right on a dresser, there’s an object: a syringe. This is another healing item that restores more health than the sports drink.
Head to the back window and break it to escape the house. As soon as you cross the fence, look to your right to find the boards making a corner.
Approach the corner and examine a blood stain to get the third glimpse.
From here on out, get into the habit of approaching vehicles and breaking windows. You might find resources (for now, healing items, but later on, ammunition). We’ll guide you, but our help has its limits. Keep in mind that difficulty can affect the amount of resources you find along the way. Continue down the street, and it’s impossible not to notice the body lying on the ground; James will even point it out.
This is the Matchbox, which counts as a note towards completing the game 100%.
Right afterward, on the ground, you’ll find the Note from Martin Street.
Head south, and you’ll see a save point to your right, behind a gate that opens automatically. Move along until you’re back on the streets of Silent Hill. Start by heading east towards the Texan Café — you can enter through the door.
Once inside, examine the cash register. You’ll need to use the key and then the button to open it and acquire the Neely’s Bar Coin. Be cautious, as a monster will appear as soon as you grab it.
Return to the street and head west toward the intersection of Neely and Katz.
At the northeast corner of the intersection, you’ll see the Big Jay store with its door open. Enter, and you’ll find the Note from the Big Jay Café on the table.
Exit to the intersection and head north until you spot the Groovy Music store on your left (marked on the map). Be careful when you enter; we encountered two monsters inside. On the left side of the counter, as soon as you enter the store, you’ll find the Note from the Record Store.
Check the windows to the adjoining room and break them to pass through. On a table, you’ll find what was mentioned in the letter: the Vinyl Glue and the Broken Vinyl Record (1). Return to the street and this time head westerly at the Neely and Katz intersection. You’re looking for the entrance to the Wood Side Apartments (which we’ll visit later).
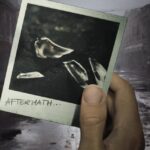
The door is locked, but just to its left, you’ll find the Brochure from the Texan Café. Additionally, just to the right of the door is a dumpster. If you inspect it, you’ll have discovered the fourth glimpse. We’re not done yet! Continue west, sticking close to the Wood Side Apartments fence. Keep the camera angled to your right, and at the first corner, on the ground, you’ll find the first strange photograph, “How Many People Are Here?”
Proceed west on Katz Street until you reach a blockage. On the ground, next to a body, you’ll find the Note from the Barrier. Be cautious, as a monster will rise as soon as you pick it up.
At that same spot, approach the barrier and look for a point you can interact with.
By doing so, you’ll obtain the fifth glimpse. Now, backtrack to the intersection and head south on Neely. Pass by the Bar Neely’s intersection and head to the west sidewalk, looking for the Silent Hill Fresh Meats store.
If you break the display window, you’ll find the photograph “I’ve Been Happy”.
Now, head east along Sanders Street, again ignoring the Bar Neely. You’re searching for an area with a truck parked on the south side of the street.
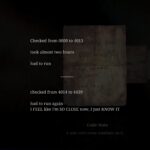
Next to the truck, there’s a corpse. To the left and right, you’ll find two notes: the Note with Code and the Note from Sanders Street.
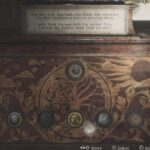
These two notes provide the key for the first puzzle in the game. Backtrack and head north on Neely to find an alley just south of the Grand Market. There’s an open gate to the alley, and at the end, you’ll find the Puzzle of the Grand Market Keyboard.
Upon entering, gather supplies. They’ll definitely come in handy. You can open the door to exit to the street; this time head south and west along Saul Street. Keep going until you reach the far western end, where the intersection has two blocked exits.
Once there, you should see a corpse on the ground. Next to its hands is the Ancient Map and the Note from Saul Street. From the body, follow the blood trail to the trailer to collect the Note from Saul Street (2). Continue towards the trailer to find the Note from Saul Street (3) in front of the vehicle, and the Note from the Caravan inside. You’d think it would be easier to gather them all in one place.
Now step into the Apartments on Saul Street (you can enter directly from the sidewalk).
Immediately upon entering, move through the hallway until you see a door blocked by furniture on your right. You’ll need to push it aside to access the apartment and reach the concierge booth. On the table, by the window, is the Small Note. On the opposite wall, you’ll find the Key for Apartment (5), which is used to unlock the armory in the police station, just so you know.
Return to the hallway and head to the end at the intersection, but do not ascend the stairs. At the end, you can turn left and enter an office where you’ll find a syringe and a bill (not a note).
Go up the stairs and look to the right as soon as you reach the top. You’ll see an open vent near the floor; go through there.
Inside Apartment 7, on the table, you’ll find the Tenant’s Note. Exit the way you came and head to Apartment 5, located on this same floor. Inside, there’s only a crack in the wall that lets you enter Apartment 6. There’s another crack in the wall leading to the inaccessible side of the hallway, where you can cross through a window and climb to the second floor.
Proceed straight and try to open the door to trigger a cutscene. As the great genius Coque Calatrava would say: “Doesn’t it smell a bit weird here?” The fact is, if you look to the right of the door, there’s a bathroom. On the wall of that bathroom, there’s a hole you need to interact with to obtain the Gramola Button.
Now head to the rooftop via the hallway and descend the ladder. You’ll arrive at a courtyard with a door you can open from this side, leading you back to the street. Open the map and look for Happy Burger. You can enter by breaking one of the windows. Inside, aside from two monsters, you can grab a sports drink. If you continue behind the counter to the kitchen, you’ll see a vent in the floor leading to the storage room.
In the storage room, there’s a first aid kit with a syringe, which will be useful. Before proceeding, we need to backtrack to the Bar Neely. You can enter directly through the front door.
Upon entering, you’ll see a save point behind the bar. To its left, at the entrance to the bar, you’ll find the Note from Bar Neely. Now, approach the back of the bar to the covered object. This is the puzzle of the Gramola from Bar Neely. Once you solve it, you’ll acquire the Key for Bar Neely, which opens the door next to the bar.
In the hallway, look to the right and push the cart to pass through the wall vent into a bathroom. There’s a first aid kit with a sports drink and, in the office, the Backroom Letter. Now exit through the adjacent door. If you’ve followed the steps correctly, you should see an area to the east marked with a question mark.
Make your way there (don’t forget to check the cars for resources), and you’ll find the car on your right. Check the pile of clothing in front of it to obtain the Key for Wood Side Apartments. Be very careful, as three monsters will suddenly appear. You can escape through the alley to the north.
Your destination is at the far west end of Katz Street, which is, of course, the Wood Side Apartments.
Related posts:
 History and areas at 100% in Silent Hill 2 Remake
 100% prologue in Silent Hill 2 Remake
 ALL the strange photographs in Silent Hill 2 Remake and location
 ALL notes on Silent Hill 2 Remake and localization
 Great Market Keyboard and solution in Silent Hill 2 Remake
 ALL glimpses in Silent Hill 2 Remake and localization
 ALL the puzzles and solutions in Silent Hill 2 Remake
 What time can Silent Hill 2 be played?
 Final Fantasy 7 Rebirth fourth top-selling US game this year, but reportedly remains far behind Remake
 Final Fantasy composer Uematsu returning for remake trilogy finale
 Final Fantasy 7 Rebirth is Remake supercharged
 Dragon Quest 3 HD-2D Remake minimum and recommended requirements for the PC version


Post Comment