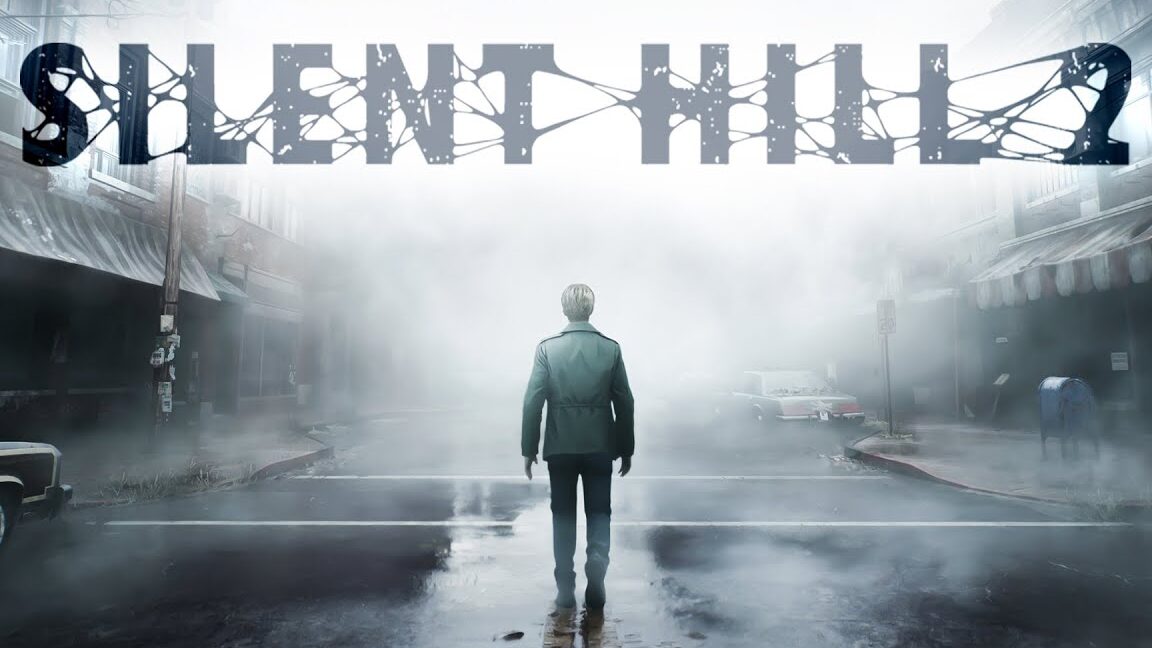
Streets of Silent Hill (Another World) at 100% in Silent Hill 2 Remake
In the Streets of Silent Hill (Another World), you’ll navigate a pivotal chapter in the Silent Hill 2 Remake. This part of the game begins as you leave the Brookhaven Hospital and step into a foreboding environment. Transitioning from the sterile hospital to the unsettling streets of Silent Hill requires you to remain alert and focused on your goals amidst the eerie atmosphere.
To successfully make your way through this haunting area, follow the glow of the streetlights heading south, then east, aiming for Heaven’s Night. The journey through this desolate town is filled with tension, and you should be ready for sudden surprises.
Upon reaching the northern section of Heaven’s Night, proceed east until you find an open garage illuminated by a light, indicating something noteworthy. Inside, you’ll come across various items and a breakable wall that leads to a save point. After saving your progress, make your way through the alley accessible by moving a cart near a gate, which will take you to Rendell Street. Here, enter the Lakeside Restaurant, and don’t forget to check the exit on the eastern side, which guides you toward a parking lot filled with buses, allowing you to delve deeper into Silent Hill.
As you continue, you’ll find yourself near the Apartments on Saul Street. Look for a trailer on your right that holds useful items, a save point, and a map note that is essential for your exploration. Keep heading east toward the Happy Burger, where there’s a gate with a hole leading to the next area.
After exiting through this hole, you’ll arrive on Sanders Street. Your first stop should be the Neely Bar, which conceals two important elements: the atisbo #17 and a key item for a later phase of the game. Be sure to read the message next to the gramophone to trigger an event crucial for your advancement.
Once you’ve gathered the necessary information, go through the door adjacent to the bar to access the back rooms, ultimately leading you to a dark alley north of the Neely Bar. Follow the path until you discover a lit window inviting you to step into the American Café.
After leaving the café, check out the nearby ringing phone booth. The phone’s ringing adds to the unsettling atmosphere and prompts you to pick it up. Completing this sequence will reward you with a letter and a wrench that will aid your journey.
Make your way to the intersection of Katz and Neely, where you’ll spot a parked car near the Lucky Jade Restaurant. Breaking the driver’s window will reveal a photograph for your collection. As you proceed north along Neely Street, you can also explore a tunnel with a gate that can be opened using the wrench you found.
In this dark tunnel, you’ll encounter enemies known as manhands. You can choose to either avoid them or engage in battle, targeting their weak spots for effective damage. Once you exit the tunnel, head towards Rosewater Park, where you’ll witness an eerie cutscene featuring Angela. Afterward, collect the Historical Society Key located near a statue, and then make your way southwest.
Before heading to the Historical Society, don’t forget to stop by Jack’s Motel. In the lower patio area, locate the room 106 door and examine the torn wall on one of the beds to unlock an exploration achievement/trophy.
Your next stop is the Historical Society of Silent Hill. Upon entering, look for a showcase containing a photograph that is vital for your collection. Once you’ve gathered everything, head to the back of the building and descend the stairs, where you will encounter a peculiar sequence. This area doesn’t have a map, but there’s only one path to take. Stay alert and be ready to jump when needed.
If you find yourself facing a door blocked by a gate, backtrack and enter the left room to find the Key with Spiral Writing.
To escape this area, you need to solve the bug room keyboard puzzle. Once completed, go through the door in the floor to descend into Toluca Prison, where even more challenges await you.















Post Comment