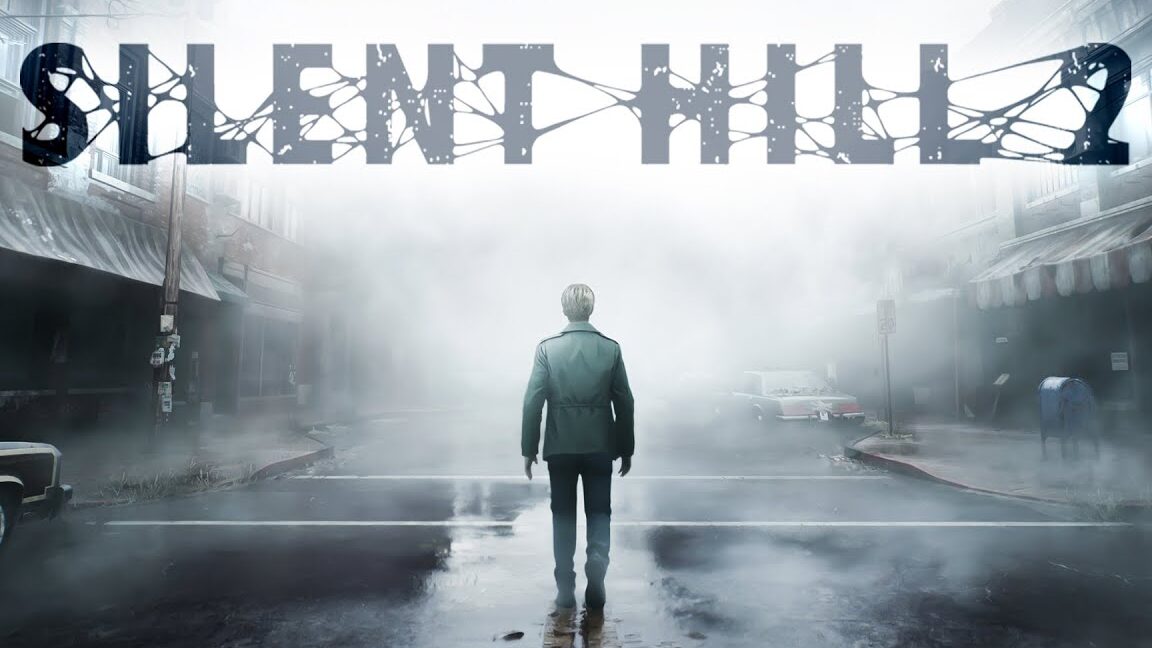
Streets of Silent Hill (Another World) at 100% in Silent Hill 2 Remake
The Streets of Silent Hill (Another World) represent a significant chapter in our guide to navigating the unsettling environment of Silent Hill 2 Remake. Your adventure kicks off in the depths of the Brookhaven Hospital (Another World), where players are enveloped in a chilling atmosphere that sets the stage for what’s to come. This guide will help you explore each area without giving away key plot elements, ensuring a thrilling experience while offering essential tips, item locations, and puzzle solutions.
As you exit the haunting hospital, prepare for the transition into a city that is just as disturbing. Follow the glow of the street lamps heading south, then east, making your way toward the notorious Heaven’s Night.
Upon arriving at the northern part of Heaven’s Night, head east until you see an open garage lit by a light. Inside, you’ll find various items, and in the southeast corner, there’s a wall you can break to access a room with a save point. Move through this area to enter an alleyway by shifting a cart next to the gate. From there, enter the Lakeside Restaurant on Rendell Street. You can find an exit on the eastern side that leads to a parking lot with buses, allowing you to re-enter Rendell Street and continue your exploration eastward.
Continue along the only available path until you find yourself near the Saul Street Apartments. Look for a caravan on your right, which may remind you of a previously visited area. Inside, gather items, a save point, and a note on a map. After collecting your loot, proceed east toward the Happy Burger. To your right, you’ll notice an opening in a fence that you can pass through.
This will lead you to Sanders Street. Your first stop should be the Neely Bar. Inside, pay attention to two important items: the atisbo #17 on the bar and an item necessary for the “Underwater” ending. Interacting with the gramophone will trigger an event crucial for your progression, and ignoring it may hinder your ability to achieve the desired outcome. Note that this is not a collectible but rather essential for an event in the game.
Continue through the door next to the bar to reach the back rooms, which will lead you to the alleyway north of Neely Bar. Follow the path until you see a streetlamp illuminating a small window that allows access to the American Café.
Once you exit the café, head to the ringing telephone booth in front of you. The ringing phone adds an intriguing element to the game’s dark atmosphere. Answering the call will trigger a sequence that rewards you with a letter and gives you the chance to collect the wrench.
Next, travel northwest toward the intersection of Katz and Neely. Check near the Lucky Jade Restaurant for a parked car, where you can break the driver’s window to find the photograph titled “They Are Here.”
Continue north along Neely Street, passing through the last door until you reach a tunnel secured by a gate. Use the wrench to unlock the gate. Inside the tunnel, you’ll encounter creatures known as man hands that crawl beneath the grates. You can choose to avoid them or try to target their weak spots. Remember, shooting at their bodies won’t help. After exiting the tunnel, make your way to Rosewater Park and follow the streetlights, where you’ll witness a significant sequence involving Angela. Once it concludes, collect the Historical Society Key located in front of the statue and take the southwest exit.
Before heading to the Historical Society, stop by Jack’s Motel. Search the ground floor patio for the door to room 106. Inside, examine the torn wallpaper above one of the beds to unlock the achievement/trophy “Everything Seems to Be in Order.” Your next destination is Nathan Avenue, leading to the Silent Hill Historical Society. Enter through the second door on the left (just past the save point) and find a display case containing an item: the “The New Clock” photograph.
After collecting this item, head to the back of the building and go down the staircase. This next section is quite odd and unexpected. There’s no map, but you must proceed one way. Keep an eye on the ground and jump at the right moment. Further along, you might encounter a door with a gate blocking your path. If that happens, turn back and enter the room to your left in the hallway you just walked through to find the Key with Spiral Writing.
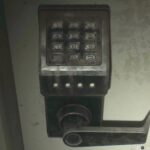
To escape, you’ll need to tackle the keyboard puzzle in the bug room. After solving it, open the “floor door” and jump to reach the Toluca Prison.
Related posts:
 Streets of Silent Hill (Another World) at 100% in Silent Hill 2 Remake
 Silent Hill streets at 100% in Silent Hill 2 Remake
 History and areas at 100% in Silent Hill 2 Remake
 100% prologue in Silent Hill 2 Remake
 100% Wood Side Apartments in Silent Hill 2 Remake
 100% Blue Creek Apartments in Silent Hill 2 Remake
 West zone at 100% in Silent Hill 2 Remake
 Brookhaven Hospital at 100% in Silent Hill 2 Remake
 100% Labyrinth in Silent Hill 2 Remake
 Toluca Prison at 100% in Silent Hill 2 Remake
 ALL the puzzles and solutions in Silent Hill 2 Remake
 Nurse’s Station Keyboard and Solution in Silent Hill 2 Remake


Post Comment