Zelda Echoes of Wisdom Gerudo Sanctum Dungeon walkthrough
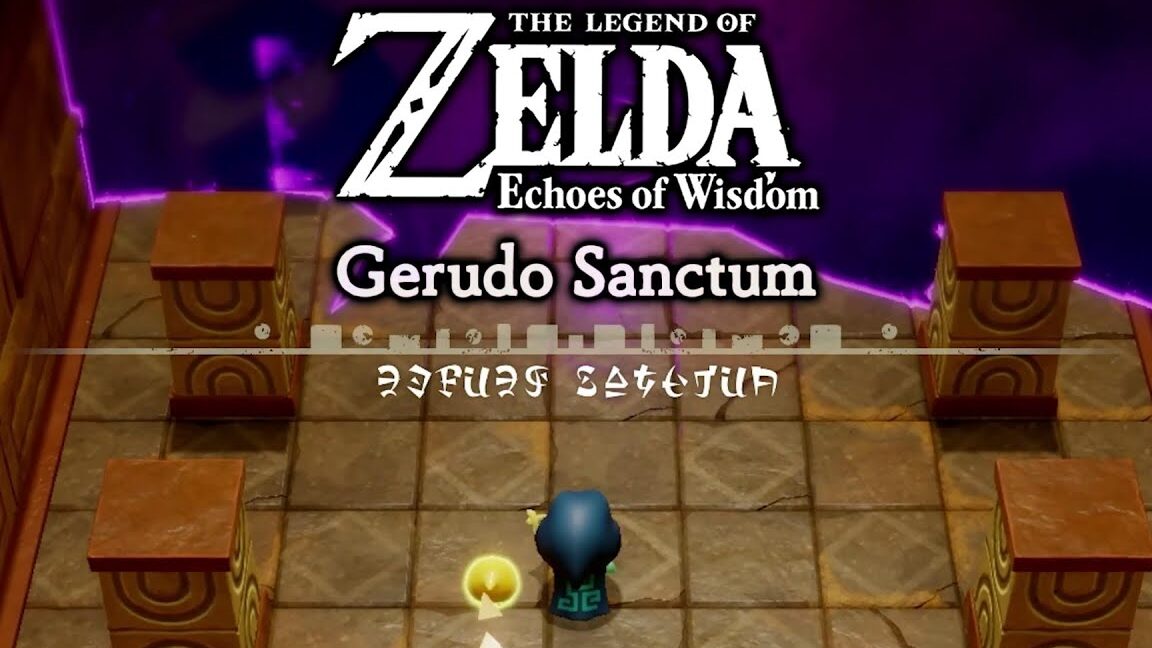
The Gerudo Sanctum Dungeon in Zelda: Echoes of Wisdom is a crucial part of the “A Rift in Gerudo Desert” main story quest. You’ll find the entrance after draining the sand that blocks the main entrance by pulling the plug in Cryptic Cavern.
Once you’ve accessed the dungeon, prepare to navigate through various challenges. Below is a comprehensive walkthrough to help you through the Gerudo Sanctum Dungeon.
Zelda Echoes of Wisdom Gerudo Sanctum Dungeon Walkthrough
Enter the Gerudo Sanctum Dungeon through the portal hole in the floor. After a brief interaction with a character resembling Link, proceed forward and climb the ladder.
In the next room, you’ll find a ladder on your left, some solid blocks on your right, and pipes emitting steam. Avoid the steam as it can damage you. Instead, climb the ladder on your left and position yourself just beneath the steam stream. You should see a boulder nearby.
Utilize the ‘Bind’ ability to grab the boulder and pull it down to block the steam pipe. Continue climbing the ladder until you reach a smaller area with a Waypoint in the left corner. Activate this waypoint before proceeding.
In this area, there’s a locked door at the rear and two open doors on either side of the ladder. Enter the left doorway, which leads to a seemingly empty room.
Once inside, the door will lock behind you, and the floor will begin to attack. Use a Boulder Echo to block the incoming floor-tile attacks and wait for them to finish. After surviving the onslaught, a chest will appear containing 20 Rupees. When ready, return to the previous room with the Waypoint.
Next, proceed straight across this area and through the door on the right.
This leads you to a room with a moving floor and two blue cubes that will block the doorway. Defeat the Keese in the room for some Rupees before proceeding.
Jump onto the moving floor and run across it to the gap between the bars leading to the blue cubes. Create a path using a Trampoline Echo to reach the platform with the cubes.
Once on the platform, use ‘Bind’ to pull the long device away from the door, moving the cubes aside. When there’s enough space, run through the door into the next area.
You’ll find another seemingly empty room with handles on the wall. Use ‘Bind’ to pull one of these handles, revealing a gap you can walk through.
Inside, you’ll find a chest with a Small Key. Smash the jars around the room to collect some Refreshing Grapes.
After obtaining the Small Key, backtrack to the room with the locked door and use the key to unlock it.
In the new room, you’ll encounter four Snake Statues. Collect one of their Echoes and continue through the rear door.
Here, you will face two Mothula enemies. Defeat them to collect their Echo and some Rupees. After that, head through the door on your right.
In this area, you’ll find jars to smash for Electro Apples. Behind a wall, there’s a chest, but we’ll return to this later.
Continue through the doorway at the bottom of the small entrance area, leading you to another space with moving floors suspended over a large gap.
Before crossing, clear the boxes on the opposite side using two Tornado Echoes. Once the exit area is clear, hop onto the moving floor, run across, and drop down the ladder.
Next, descend to a short platform but be cautious of a rolling enemy in the area. Use the Mothula Echo to defeat it easily. After clearing the area, move right to a small section of sandy floor with a chest underneath.
Use a Holmill to create a gap in the sand and drop Zelda through to open the chest, which contains a Golden Egg.
To exit, use the Holmill again to create a hole in the sand to your left. Be prepared for two rolling enemies below. After dispatching them with the Mothula Echo, climb halfway up the ladder and drop down to deal with them.
After clearing the area, go down the tall ladder to a room with a tablet in the middle and a Waypoint in the bottom left-hand corner. Activate this Waypoint before proceeding.
Interact with the mysterious tablet that provides clues about the next objectives: ‘Seek two distinct tributes. Clues to the desired tributes are recorded somewhere on this floor.’
Look for two red squares on the floor near the golden door behind the tablet; these are where the tributes need to go.
Head right and use ‘Bind’ to pull the handle on the wall to walk through a gap filled with sand clumps. Clear the sand using a Wind Cannon Echo, which will uncover a chest containing 10 Portions of Rock Salt.
Then, interact with the tablet in the upper right corner, which provides a clue: ‘It stands quietly in the Sanctum. It is blue in color, with large tusks and a long nose.’ This refers to one of the tributes.
How to Get the Gerudo Sanctum Dungeon Map
To find the Gerudo Sanctum Dungeon Map, enter the room to the left of the tablet. You will encounter a Poe enemy in a room filled with green boxes.
Defeat the Poe while avoiding its flame drops, using the green boxes for cover. Once defeated, a chest will appear in the middle of the room. Don’t forget to collect the Echo from the Poe first before opening the chest to obtain the Gerudo Sanctum Dungeon Map.
Finding the Two Tributes in Gerudo Sanctum Dungeon
Go through the door in the bottom left-hand corner of the room, which will lead you back outside the dungeon. You will see the Link-a-like again. Move right to a square in the wall of the dungeon and use Echoes to create steps up to this opening.
Once inside, you’ll find a room filled with Rupees—collect as many as you can. Then, head back outside to where you left the dungeon, follow the path down and to the left, defeating enemies as you go until you reach a section where a chest is sitting in the sand on a raised platform to your left.
Utilize a Trampoline Echo to reach this chest, pull it out of the sand, and open it to collect 20 Rupees.
Drop back down and head right, using a Trampoline Echo again to reach a higher platform. Continue forward until you reach a tall column with handles on the side. Use ‘Bind’ to grab a handle and pull it to reveal the bottom half of a ladder.
Climb up the ladder, and at the top, you’ll find a moving floor with flames blocking your path. Use ‘Bind’ on the flame device to change its direction, allowing you to traverse safely.
Once you reach the next solid area, interact with the blue statue to learn the Elephant Statue Echo, which is one of the tributes you need.
Now, head to the left and open the chest to collect another Small Key. Continue following the path to the left and up the ladder to a higher platform.
Follow the path around to the left, where you’ll find another moving floor heading south. Quickly use ‘Bind’ to change the direction of the flames at the end of the moving floor to avoid taking damage.
Once you reach the next area, interact with another blue statue to learn the Hawk Statue Echo, completing the required tributes.
Return to the room with the Mysterious Tablet and place the Elephant Echo on one red tile and the Hawk Echo on the other to unlock the door.
How to Get the Gerudo Sanctum Dungeon Big Key
After entering the next room, you’ll find a large device with a handle. Use ‘Bind’ to pull the handle back while moving left. This will reveal a plug that opens up more areas of the dungeon.
Proceed through the hole created by pulling the plug to find a chest in the middle of a puzzle. Use the turning wheel to align the dark lines with the ones on the floor, sinking the outer and inner rings.
Now, you can access the chest and collect the Big Key.
Head through the doorway in the upper right corner of the room, leading you to the big locked door you just earned the key for. Activate the Waypoint next to this door and interact with it to enter the Boss area.
Prepare to face the boss, Mogryph. There are separate guides available to assist with defeating Mogryph and finding additional treasures within the dungeon.



















Post Comment