Zelda Echoes of Wisdom Jabul Ruins Dungeon walkthrough
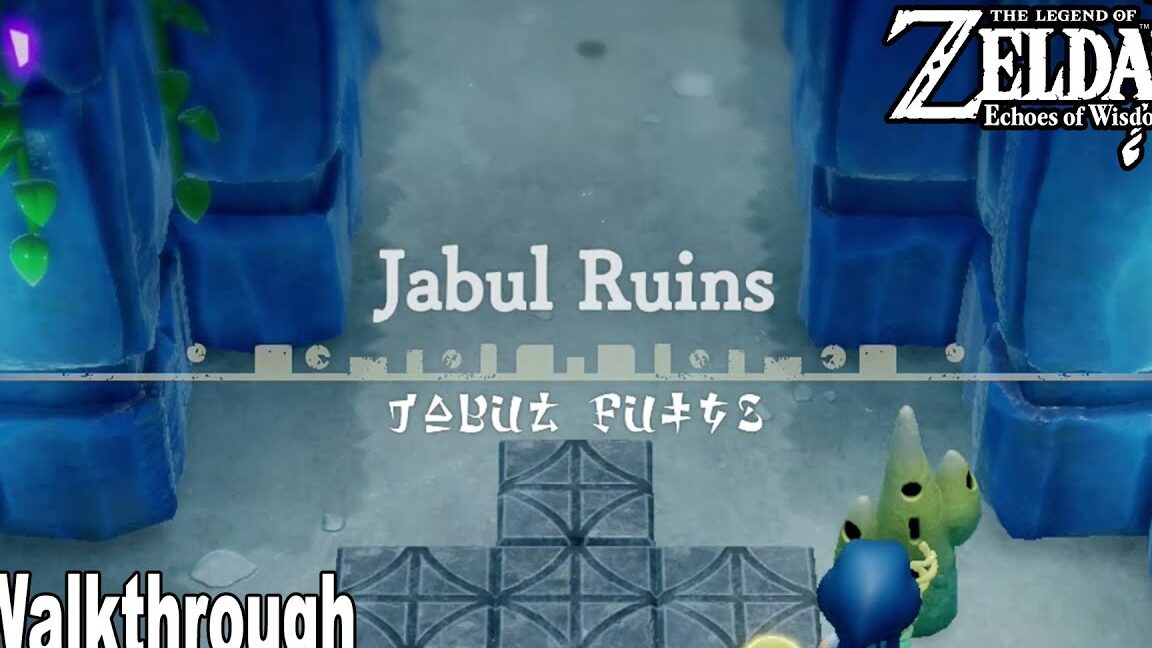
The Jabul Ruins Dungeon in Zelda: Echoes of Wisdom is accessible after defeating Lord Jabu-Jabu. This dungeon features both underwater and above-water sections, making it essential to prepare some smoothie recipes to enhance your swimming speed, which can be invaluable during your exploration.
When you’re ready, here’s a detailed walkthrough of the Jabul Ruins Dungeon.
Zelda: Echoes of Wisdom Jabul Ruins Dungeon Walkthrough
Start at the Waypoint located at the entrance of the Jabul Ruins Dungeon. Proceed forward and don’t be startled when the floor collapses; this is part of the dungeon’s design. You’ll land safely in the water, marking the true beginning of your adventure.
Dive underwater and swim to the left until you encounter a large rock blocking your path. Use the ‘Bind’ ability to pull the rock out of the way and continue swimming left.
After navigating past the first rock, dive deeper until you find another rock obstructing your path. Again, employ ‘Bind’ to lift and place it onto a nearby platform that is slightly higher.
Once you’ve cleared that obstacle, swim down to the floor and head right. An enemy will appear, launching an underwater whirlwind towards you, prompting you to swim quickly to avoid it. Navigate through a series of sections:
First Section
Swim through the lower area, ignoring the enemies.
Second Section
Swim through the upper part; it may be a bit tricky but is easier compared to dealing with the obstacles below.
Third Section
Ignore the enemies here while avoiding the shocks, and keep moving forward.
Fourth Section
Swim through a narrow area where a rock blocks your escape. Use ‘Bind’ to push it out of the way and swim up to the right, where a ladder awaits. Climb up to safety.
In the next area, you may encounter some enemies, but you can utilize your Echoes to eliminate them before they pose a threat. As you enter, smash the jars on your right for some Refreshing Grapes. Continue to the left side of the room, where you’ll find a small door leading to stairs in the upper left corner.
Go through the door to proceed.
How to Get the Jabul Ruins Dungeon Map
In the next room, activate the Waypoint first and then head through the northern door (the southern door leads back to the previous area).
Inside, you’ll encounter four Fish Statues and a purple switch in the center. Step on this purple switch to activate it, which will also light up the corresponding spot on the wall, filling the pool in front of it. You’ll now need to find four more switches.
Head to the right and down the ladder. In this chamber, move right and use your Echoes to clear any enemies in your path. Eventually, you’ll reach a chest on a small ledge.
Open it to collect the Jabul Ruins Dungeon Map!
Finding the Red Switch in Jabul Ruins Dungeon
Now it’s time to locate the remaining switches, starting with the Red Switch. From the area where you found the dungeon map, head left and dive into the water. We recommend utilizing water-based Echoes to deal with any enemies here.
Once the area is clear, dive beneath where you opened the chest and swim to the right, then up to the surface. Continue swimming right until you reach another ladder and climb up.
After leaving the ladder, dive back into the water and swim through the gap in the bars to the right. There are Chompfins patrolling this section, so find safety on a column among the floating wooden boxes. Use your Echoes to deal with any enemies blocking your path.
When it’s safe, swim underwater to the northern part of this area, where another barrier of bars awaits. You’ll find a box obstructing a gap in the bars—use ‘Bind’ to remove it and swim through.
On the other side, head left and climb out of the water onto a ledge. Ascend to the higher ledges on the left, where you’ll locate a chest surrounded by jars. Open the chest to find 50 Rupees.
Return to the larger area where the Chompfins were and swim to the right side. You’ll find a thin ledge here. Use Water Block Echoes to reach it and look for a larger platform area above. Use Echoes to get across and navigate around to the left until you find another doorway leading to stairs.
Finding the Dark Blue Switch
From the purple switch room, head to the left side and climb down the ladder into the water. Swim left through the small blue coral to illuminate the area.
Continue swimming left and downwards until you find another blue coral. Swim through it to light up the area and then confront the Bio Deku Baba. Use ‘Bind’ to pull its head and defeat it, collecting its Echo afterward.
Swim upwards, lighting the coral to the left, and follow the path around while dodging enemies. In the next large open space, swim down to the floor and right until you spot a chest.
Open this chest to collect 100 Rupees! Swim left, staying close to the wall, and climb the ladder to reach the next area.
Here, light the unlit torches and retrieve the missing torch from the pool. Use ‘Bind’ to lift the torch out and attach it to the other torches in the room. Once all four torches are lit, the door on the right will open, leading you to the Dark Blue Switch. Stand on it to activate it, opening a hole on the right side of the room.
Finding the Yellow Switch
Stand on the purple button and walk toward the pool of water that fills and drains. When it drains, position yourself over the circle on the floor to be lifted by the water jet. At the peak, hop off to the left.
Follow the path through the doorway to a new area where the current in the water flows south, with wooden platforms floating. Jump onto a nearby wooden plank and ride it south, while keeping an eye out for enemies.
Continue south until you reach the ledge where the water drops off into a waterfall. Do not go over; instead, jump onto a floating platform near a ledge and then to a solid platform.
Cross to the other side and jump into the water, avoiding going too deep to resist the current. Wait for the floating platforms to come down, then use them to navigate north towards the exit. At the top left is a doorway—jump onto a wooden platform and enter.
In this new room, activate the Yellow Switch, and you can smash jars here for Refreshing Grapes. After that, drop through the opening on the right.
Finding the Big Key
On the upper level, walk right until you reach the wooden platforms beside the switch colors on the wall. Wait for the water jet to appear, hop across to the other platform, and follow the path to the next ladder, leading to an underwater section.
Swim down until you reach two boulders on wooden planks. Swim to the left and through the bubbles for air, then use ‘Bind’ on the nearby boulder to remove it and reveal a new path.
Swim down the newly opened path to find a chest. Open it to collect a Golden Egg. Return to the previous area and remove the next boulder to swim down the gap it creates.
Follow the path and clear any stone boxes blocking the narrow passage. When you reach the floor, you’ll find a rock obstructing a narrow path. Use a Bombfish Echo to clear it and swim through the revealed gap.
Follow the path until you find a purple chest. Open it to acquire the Big Key.
Finding the Light Blue Switch
Swim back through the narrow path you previously opened, then head right to find another enemy. Swim upwards and be cautious of electric shocks while clearing any enemies using Echoes.
When you reach a pathway blocked by boxes, use ‘Bind’ to remove them and swim up into the next area. Quickly find a floating Wooden Box to avoid the numerous enemies in the water. Defeat all the enemies to unlock the exit door.
Once the area is clear, dive under to swim through to the next room where the Light Blue Switch is guarded by two Bio Deku Baba. Defeat them using ‘Bind’ and drop something heavy onto the switch to activate it.
Swim through the opening to the left and navigate until you reach the main door room, where all the lights on the wall are now activated. Remove any obstructions with ‘Bind’ to swim through the opening and reach the surface.
Climb up the ladder to the main room, stand on the wooden platform, and ride the water jet up to the big door.
Facing the Boss
Use the Big Key on the purple door to enter. Inside, you will encounter the dungeon boss, Vocavor, the creature responsible for the whirlwind effects you faced earlier in the dungeon.
Defeating Vocavor will complete your journey through the Jabul Ruins Dungeon. Good luck!













Post Comment