Zelda Echoes of Wisdom Suthorn Ruins Dungeon walkthrough
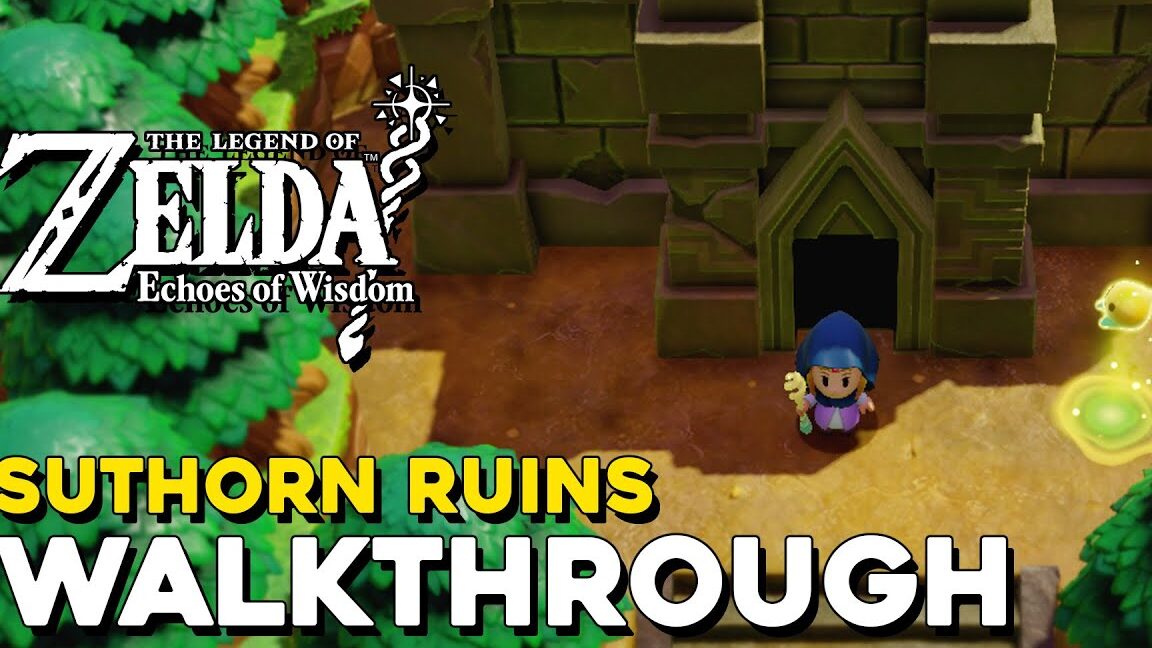
The Suthorn Ruins Dungeon in Zelda: Echoes of Wisdom is located at the end of the Suthorn Rift. Completing this dungeon is essential to restore a helpful character you will encounter during your adventure. This dungeon is also part of the larger The Mysterious Rifts quest.
Inside the Suthorn Ruins Dungeon, you will face various enemies and puzzles that will challenge your skills and test your newly acquired Echo abilities. As is customary in the Zelda series, using your Echoes is crucial for survival and navigating through the dungeon.
To ensure you navigate safely and uncover all treasure chests, here is a comprehensive Suthorn Ruins Dungeon walkthrough.
Zelda: Echoes of Wisdom Suthorn Dungeon Walkthrough
Upon entering the dungeon, activate the Waypoint immediately to your left before proceeding through the door. In the next room, follow the path around to the left where you will encounter a large rock. Interact with it, and your companion Tri will explain the importance of moving objects. This interaction will teach you the ‘Bind’ ability.
To use the ‘Bind’ ability, approach the rock, press ‘A’ to highlight it, and then bind Tri to it using ‘X’ or ‘ZL’. While bound, you can move the rock in any direction. Move the rock out of the way—dropping it down the hole is a suitable strategy.
Once you’ve dropped the boulder, continue past its original position to find a switch on the floor. Stand on this switch to open the gate to the next room.
In the second room, you will find another rock. Use the ‘Bind’ ability to shift it to the left side of the sunken floor, revealing a ladder. However, don’t descend just yet!
While holding the rock, move to the left side of the room and step into the water. Locate the gap between the ramp and a platform at the back of this section; place the rock in this gap to create a bridge.
Additionally, there are two jars in the bottom left corner; smash them to collect some Floral Nectar.
Now, ascend the ramp and cross the path you have created into the next room. Here, you will see a chest half-buried in sand. To extract it, use the ‘Bind’ ability and pull it upwards by moving away from the chest. Once freed, open it to receive five portions of Radiant Butter.
Next, head back to the ladder you discovered earlier and climb down to the next area. In this room, navigate by hopping across the strands created by Strandtulas, avoiding direct contact with the creatures.
Once you cross the Strandtulas, you can defeat one to capture its Echo ability. A Spear Moblin is effective for this purpose.
How to Obtain the Suthorn Ruins Dungeon Map
To find the Suthorn Ruins Dungeon Map, you must reach a chest located on a ledge at the top of the area. Use the Strandtula Echo you just acquired to create a string attached to the ceiling near the central platform.
Climb the string to the center platform and position yourself directly beneath the gap in the upper platform (where the chest is located). Use the Echo ability again to create another string and climb to collect the dungeon map!
Once you have the map, press the (-) button to open it. You can toggle the view using the left and right arrows on the directional pad. Familiarize yourself with the layout before proceeding.
How to Acquire the Swordfighter Form
To obtain the Swordfighter Form, return to the lowest level and advance to the right. You might need to use your Strandtula Echo to create a string to reach the next platform. Once there, climb the ladder.
In the following room, you’ll notice some jars in the corner—feel free to smash them for items. Proceed to the gap between the two platforms at the back and create another string to the ceiling. Climb the string and jump to the left platform.
Follow the path until you reach a large elevator slab. Stand on it to ascend to the upper floor.
Upon exiting the elevator, head north past a fallen pillar and up the stairs. At the top, you will encounter a Darknut enemy; using an Ignizol will help defeat it, and you will acquire the Darknut Echo.
Once the Darknut is defeated, you can jump over a pillar blocking your path using various objects in your inventory, such as a table.
Continue up the stairs and through the gate ahead into a new area where you will find a ladder leading down.
In this new area, move right and drop down. Continue right past a wooden box until you hit a wall. Here, use your Strandtula to create a string and climb to the top. Once at the top, hop to the right to progress.
How to Obtain the Suthorn Ruins Big Key
To find the Suthorn Ruins Big Key, continue descending the ladder until you reach a platform with two jars on the right. Smash them to collect a heart and continue right, dropping down before heading left.
When you reach ground level, you will find a rock blocking your path. Use the ‘Bind’ ability to grab the rock and move it onto the platform above, just slightly to the left of the chest.
Once the rock is positioned, return to the upper platform and jump off to the right. Follow the path to the right and hop onto the rock, allowing you to jump over the wall into the chest area. Open the chest to collect a Heart Pin, an accessory that increases heart drops.
Return to the area where you initially moved the rock and descend the ladder on the right. This area is small, with two jars that can be smashed for Floral Nectar. Proceed through the doorway at the back.
In the next room, collect some energy floating around. You will notice two doors at the entrance: one on the left that is open and one on the right that is locked. Activate the waypoint in the rear left corner before moving on.
Head back to the entrance and through the open door on the left, where you will encounter a Deku Baba. Defeat this enemy using the Echo abilities in your inventory. Avoid getting too close, as they can attack.
Defeat the Deku Baba by pulling its head with the ‘Bind’ ability. After shrinking it, collect its Echo. There are two more Deku Baba in this area, one on a tall platform in the top right corner and another behind a goo wall on the left side.
Clear the room of Deku Baba to open all three doorways. You can explore the top and bottom left corners in any order, but first, go through the bottom left door.
Inside, you’ll find a chest locked behind sturdy bars. To unlock it, use ‘Bind’ to move a statue next to the chest onto the panel switch on the right.
Once the statue is in position, the bars will drop. Open the chest for 50 Rupees.
Next, return to the main room with the purple locked door. Head straight across to the right where you will find another locked door. Use a Small Key to unlock it and access the next area.
In this area, another puzzle awaits. A ladder is blocked by bars that you can open by moving a statue onto a switch at the back of the room. With the statue in place, the bars will lower, allowing you to descend the ladder.
In this new area, wait for a moving platform on your right, hop on, and ride it across to the other side. Continue down the path to the right.
Here, you’ll learn about using ‘R’ after binding yourself to an object, enabling you to follow it. Bind to the moving platform above and use this technique to float across the gap.
Once on the next platform, wait for the moving platform to return, ride it, and drop off on the solid platform. Climb the ladder here, and use ‘Bind’ to attach yourself to the moving platform below to reach a chest on the right. Open the chest to receive 20 Rupees.
Next, ascend the tall ladder on the left side of this space. In the following room, you will again encounter bars blocking a shiny chest. Use ‘Bind’ to move a statue onto the switch to lower the bars and access the chest.
Inside this chest, you will find the Big Key, which unlocks the purple door that leads to the boss room.
Now that you have the Big Key, retrace your steps to the main room with the purple door. Open the door to face Seismic Talus, the boss of the Suthorn Dungeon. Prepare for battle and consult strategies to defeat this formidable foe.
With Seismic Talus defeated, you will have successfully completed the Suthorn Ruins Dungeon!
For additional tips and resources for your journey, check out other guides related to Zelda: Echoes of Wisdom.
Related posts:
 Zelda Echoes of Wisdom Jabul Ruins Dungeon walkthrough
 Zelda Echoes of Wisdom Gerudo Sanctum Dungeon walkthrough
 Hyrule Castle Dungeon walkthrough in Zelda Echoes of Wisdom
 Sudelia Ruins at 100% in The Legend of Zelda: Echoes of Wisdom
 How to reach the chest behind the wall in Gerudo Sanctum Dungeon in Zelda Echoes of Wisdom
 Zelda Echoes of Wisdom Elusive Tumbleweeds walkthrough
 Zelda Echoes of Wisdom Finding the Flying Plant walkthrough
 Zelda Echoes of Wisdom Runaway Horse walkthrough
 Zelda Echoes of Wisdom Tornado Ghost walkthrough
 Zelda Echoes of Wisdom Eldin Temple walkthrough
 The Mysterious Rifts walkthrough for Zelda Echoes of Wisdom
 Zelda Echoes of Wisdom Lanayru Temple walkthrough


Post Comment